Why This Cabinet, Every Time
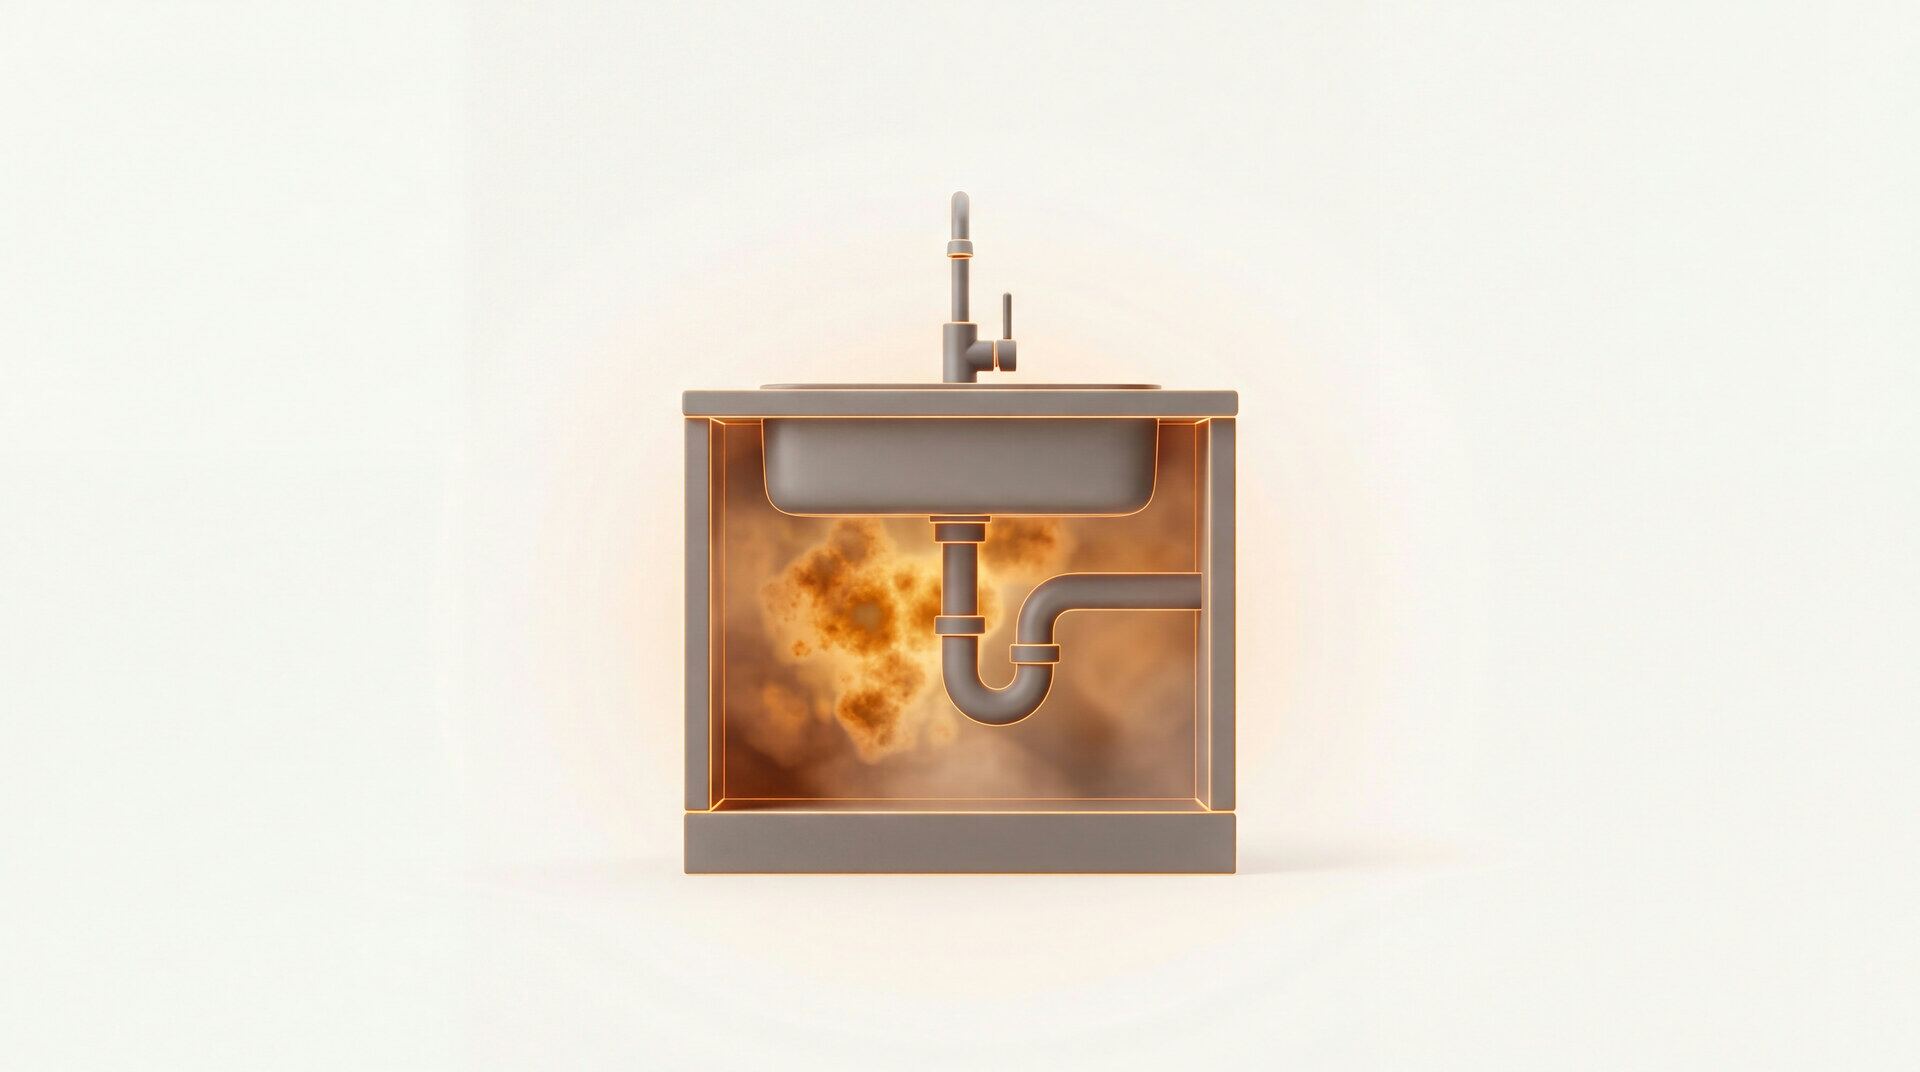
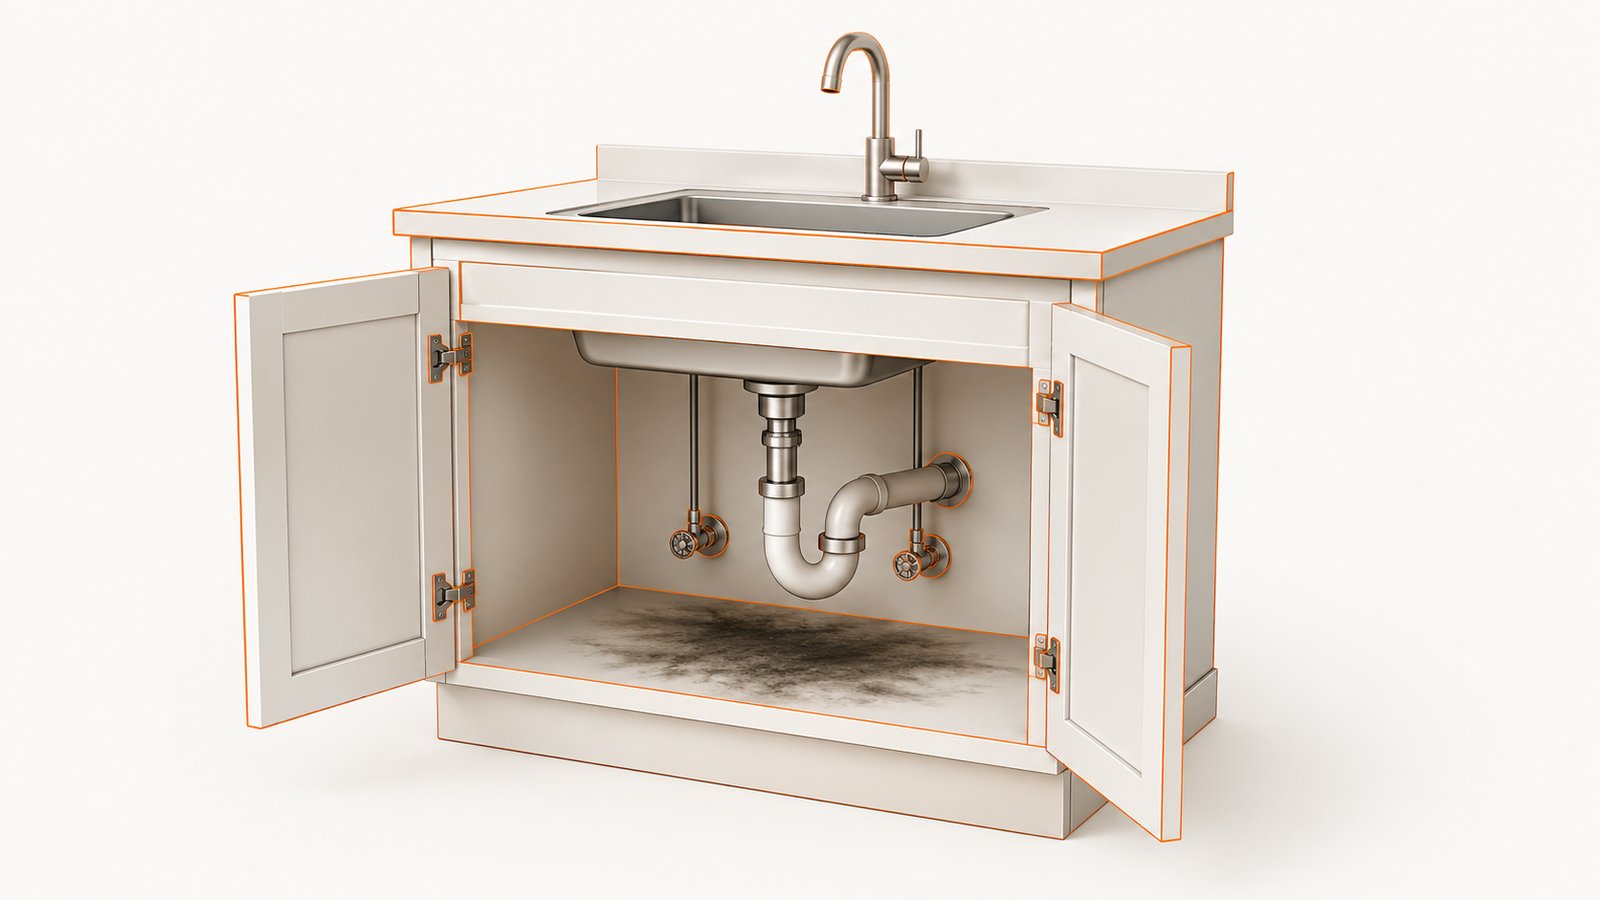
The cabinet under the kitchen sink is the most reliable mold site in a house, and the reason is structural rather than a matter of housekeeping.
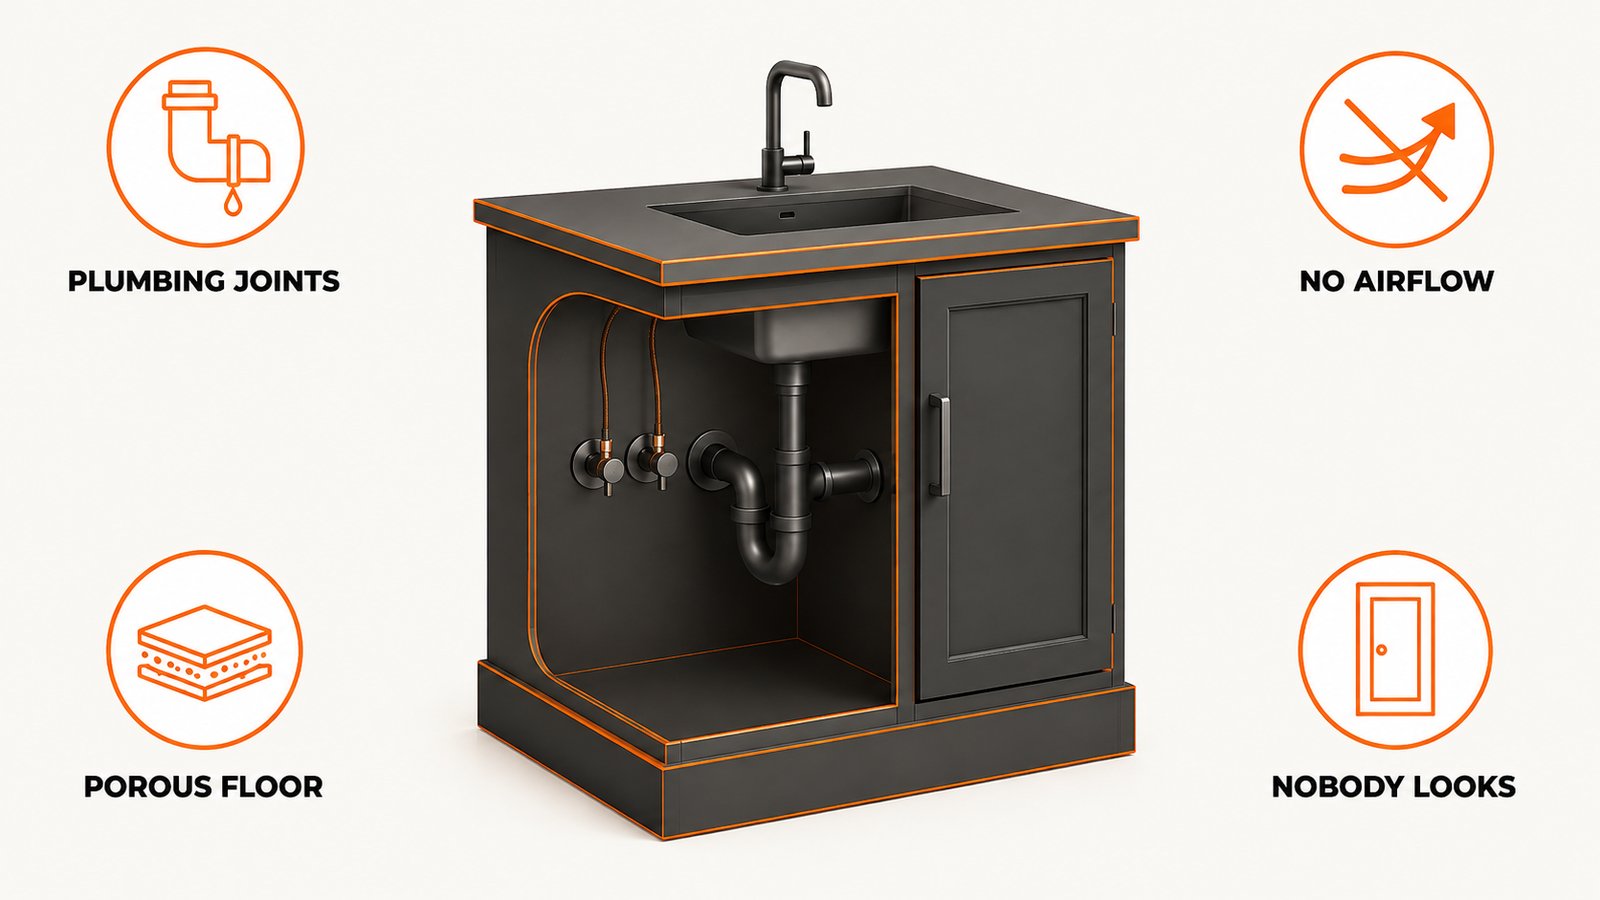
It is the only cabinet with plumbing in it. Six or more connections sit inside a closed box: two supply stops, the drain assembly and P-trap, the disposal seal if you have one, the faucet tailpieces where they pass through the deck, and usually a dishwasher drain hose. Every one of those is a joint, and joints weep before they fail.
It has no airflow. A closed cabinet door means still air, and New York State's health department lists damp spaces with poor circulation among the conditions that let growth start. Water that would evaporate off an open counter sits in a cabinet for days.
The floor is porous. Most cabinet bottoms are particleboard or MDF with a thin melamine or veneer skin. Once water gets past that skin, usually at a cut edge or a plumbing penetration, the core absorbs it and swells. The EPA notes that mold can grow on or fill in the empty spaces and crevices of porous materials, so the mold may be difficult or impossible to remove completely.
Nobody looks in it. The cabinet is full of bottles and buckets, and the back corners are behind everything. A slow drip runs for months before anyone sees a stain.
Put those together and you get the EPA's core condition met continuously: mold may begin growing indoors when mold spores land on surfaces that are wet, and none of the many types of mold will grow without water or moisture. Fix the water and the problem stops. Our broader kitchen guide covers the other surfaces in the room, but the under-sink cabinet is the one worth checking first.
The Six Failure Points
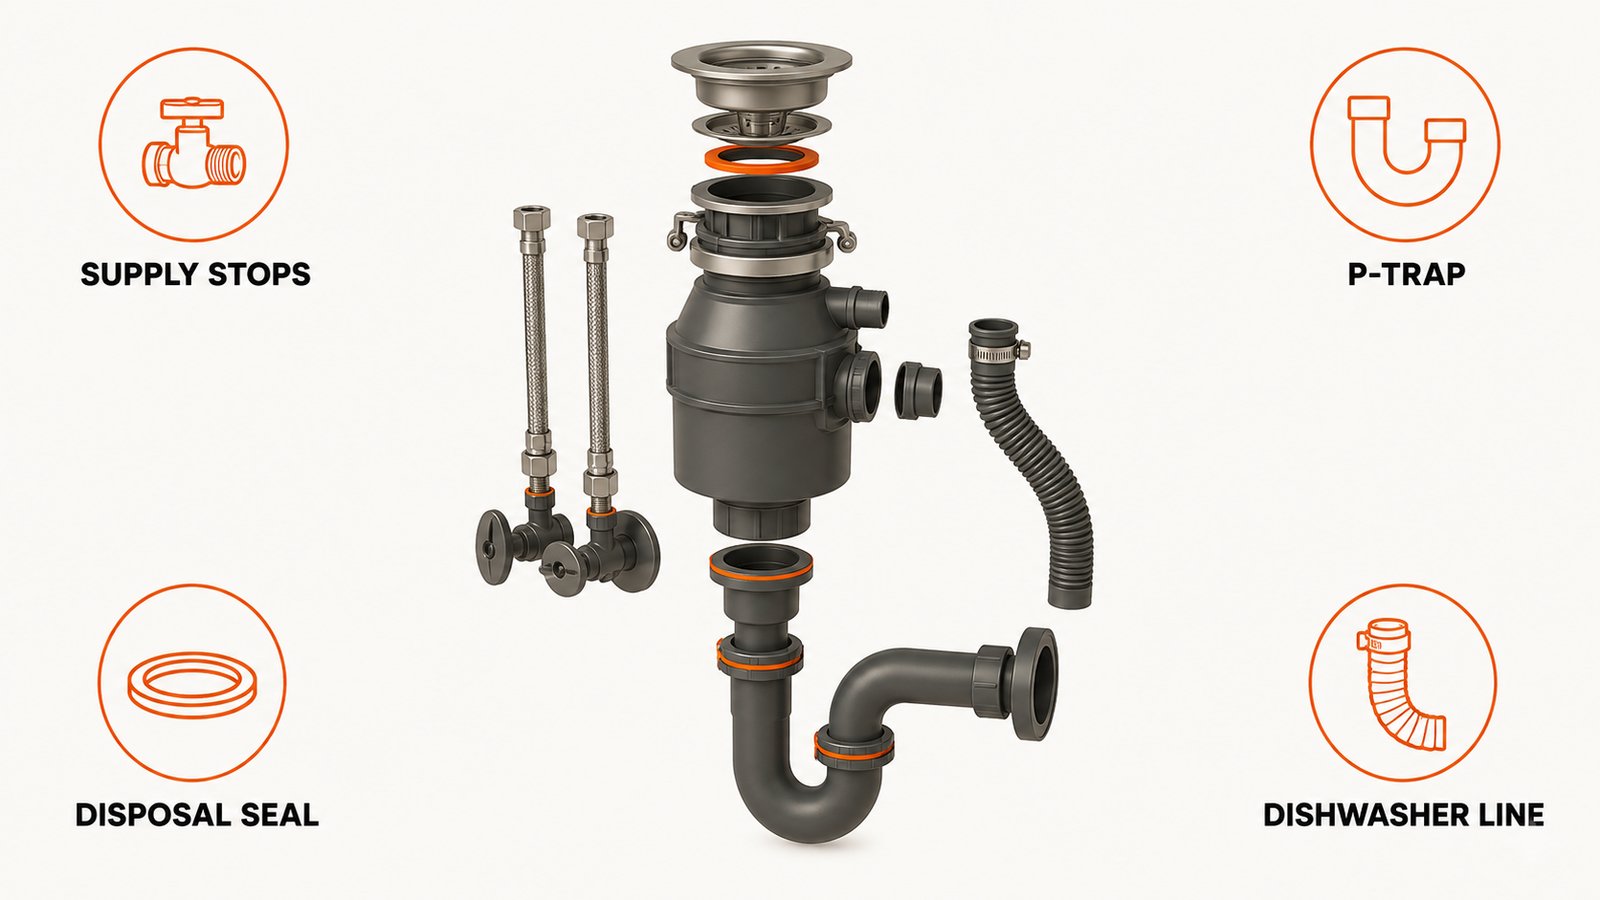
Find the water first. Everything else is wasted effort until you do. Dry the whole cabinet, put a sheet of paper towel under each connection, run water for two minutes, then check the towels. Work through these in order.
- The supply stops. The two shutoff valves feeding hot and cold. Old compression stops weep at the packing nut, which shows as a mineral crust on the valve body and a damp ring under it. This leak is constant, not use-related.
- The P-trap and drain assembly. Slip joints loosen, washers harden, and the trap arm gets knocked when someone shoves a bucket in. Leaks here only appear while water is draining, so run the tap and watch rather than looking at a dry trap and calling it fine.
- The garbage disposal seal. The gasket between the disposal and the sink flange fails with age, and the drip runs down the outside of the unit and off its base. Wipe the underside of the disposal dry and re-check after running the sink.
- The faucet base. Water pools around the faucet deck on top, works past the escutcheon and runs down the tailpieces into the cabinet. The tell is that the top of the cabinet floor is dry but the mounting nuts and the underside of the deck are wet.
- The dishwasher drain line. Cracked hose, loose clamp at the disposal inlet, or a missing high loop. This one leaks only during a dishwasher cycle, which is why people miss it entirely.
- The sink rim. Failed silicone around a drop-in sink lets water from the counter run down inside the cabinet. Common with drop-in sinks, and a real risk on undermount sinks where the mounting adhesive or the rim seal has aged.
If the cabinet is wet and none of the six is dripping, look at the wall behind it. A supply line inside the wall or a drain stack can wet the back of the cabinet without ever dripping into it. Our page on mold behind walls covers the signs, and this is the point where a moisture meter earns its price. The EPA prices a moisture or humidity meter at $10 to $50 at many hardware stores.
Once you find it, stop it. The EPA advises fixing plumbing leaks and other water problems as soon as possible, and its whole framework rests on that: the key to mold control is moisture control.
Empty It and Inspect in Order
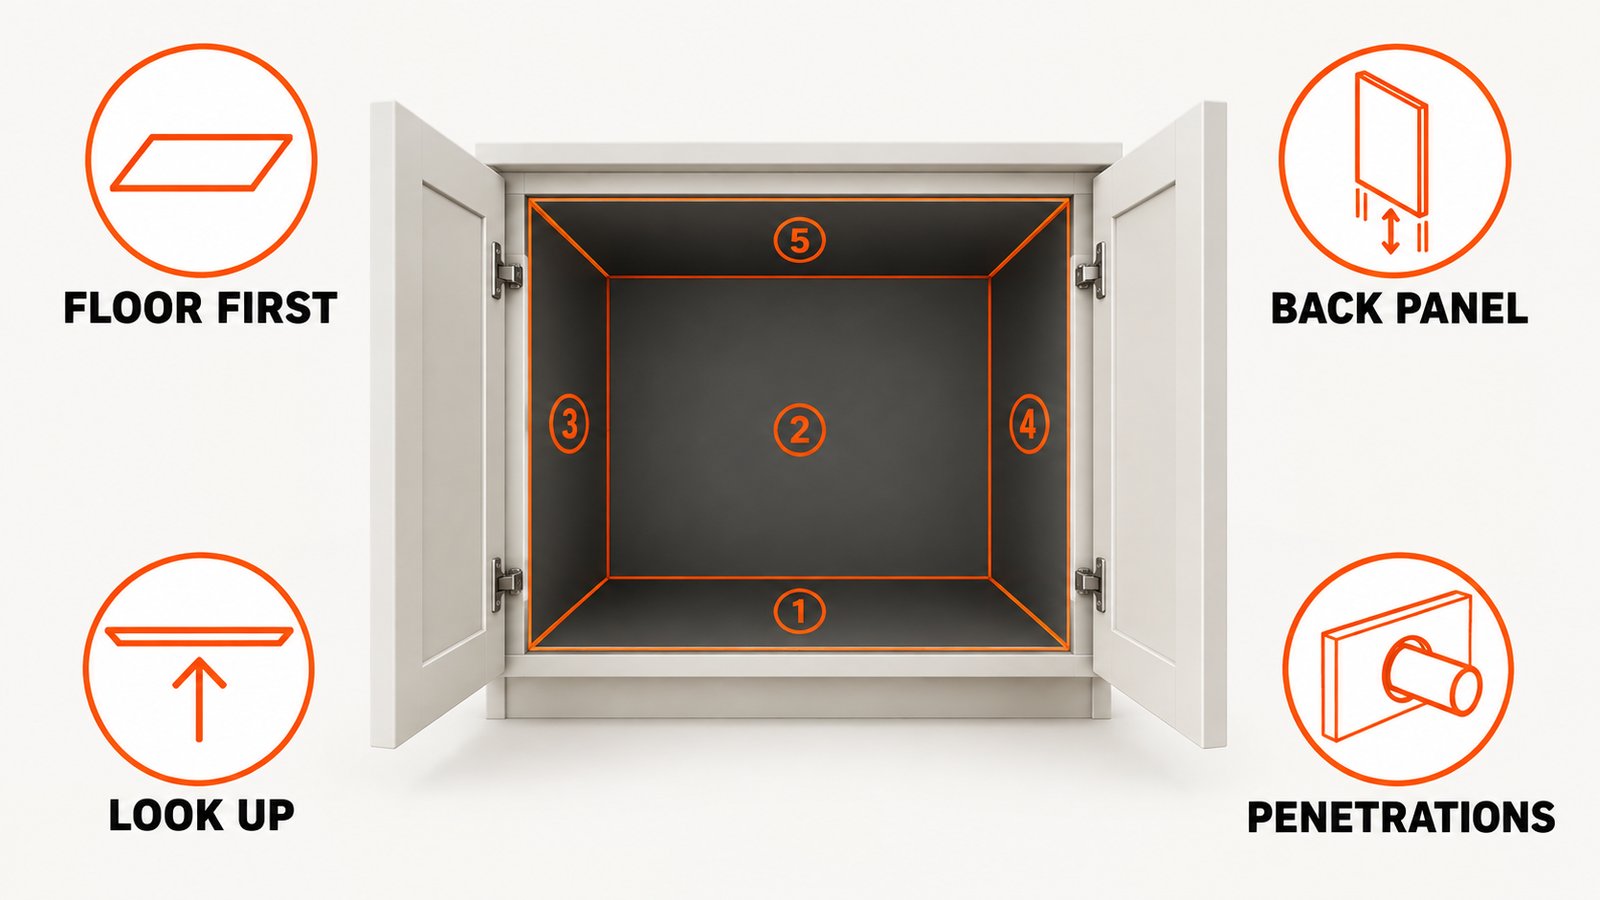
Take everything out. All of it, including the caddy and the bin. You cannot assess a cabinet you can only see half of, and anything that was sitting in water needs checking separately.
Gear up before you start. New York State's health department recommends rubber gloves and an N95 mask for jobs other than routine cleaning. Open a window and leave the cabinet doors open while you work.
1. The floor, especially the back corners. Press it with a thumb. Sound particleboard is hard. Wet particleboard gives, and the melamine skin lifts or bubbles. Look for a dark rim that follows the shape of a bottle base, which tells you something stood in a puddle.
2. The back panel. Usually a thin sheet with a gap at the bottom. Growth here often means the wall behind is wet rather than the plumbing above.
3. The side walls and the underside of the sink deck. Look up. Condensation drips from a cold supply line or the sink underside onto whatever is below it.
4. Every penetration. Where each pipe passes through the cabinet floor or back, the cut edge of the board is exposed with no skin on it. That raw edge is where water enters the core, and it is where growth starts.
5. The toe kick and the floor under the cabinet. If water ran out of the cabinet, it went somewhere. Check the flooring at the cabinet base.
Photograph everything before you clean it, with one wide frame that shows the whole cabinet and close frames of each affected area in good light. Photograph it and get an AI-assisted visual screening of what is visible in each frame. Keep the originals with their timestamps, because if this turns into an insurance or landlord conversation later, the before photos are the part you cannot recreate. Our page on homeowners insurance and mold covers what carriers typically look at.
Cleaning, by Material

The material decides whether cleaning is even possible. The EPA's rule is short: scrub mold off hard surfaces with detergent and water, and dry completely, while absorbent or porous materials may have to be thrown away if they become moldy.
Intact melamine, laminate or sealed veneer. Cleanable. Scrub with detergent and water, wipe the residue away, and dry completely. This is the standard case for a cabinet caught early.
Finished wood. Cleanable with care. Detergent and water on a barely damp cloth, then dry immediately, because standing water on a finish causes its own damage. Our page on mold on wood covers finished against unfinished wood.
Swollen or delaminated particleboard. Not cleanable. Once the core has taken water and expanded, growth is inside the board rather than on it. That is exactly the porous case the EPA describes, where mold fills the empty spaces and crevices and may be difficult or impossible to remove completely. Replacement is the answer, and it is covered further down.
Plastic sink mats and cabinet liners. Cleanable, and the underside is usually worse than the top. Take them out, wash both faces, dry them fully, and consider whether a liner that traps water against the cabinet floor is helping at all.
Anything stored in there that got wet. Cardboard, paper labels, sponges, cleaning cloths. New York State advises that all wet materials that cannot be cleaned and dried thoroughly should be discarded. Cardboard is not worth saving.
Two rules while you clean. Remove the residue, do not just kill it: the EPA states that dead mold may still cause allergic reactions in some people, so it is not enough to simply kill the mold, it must also be removed. And never combine products, because the EPA warns never to mix chlorine bleach solution with other cleaning solutions or detergents that contain ammonia, since toxic fumes could be produced. That matters more in a kitchen than anywhere, because the cabinet you are working in is full of both.
Black Mold Under the Sink
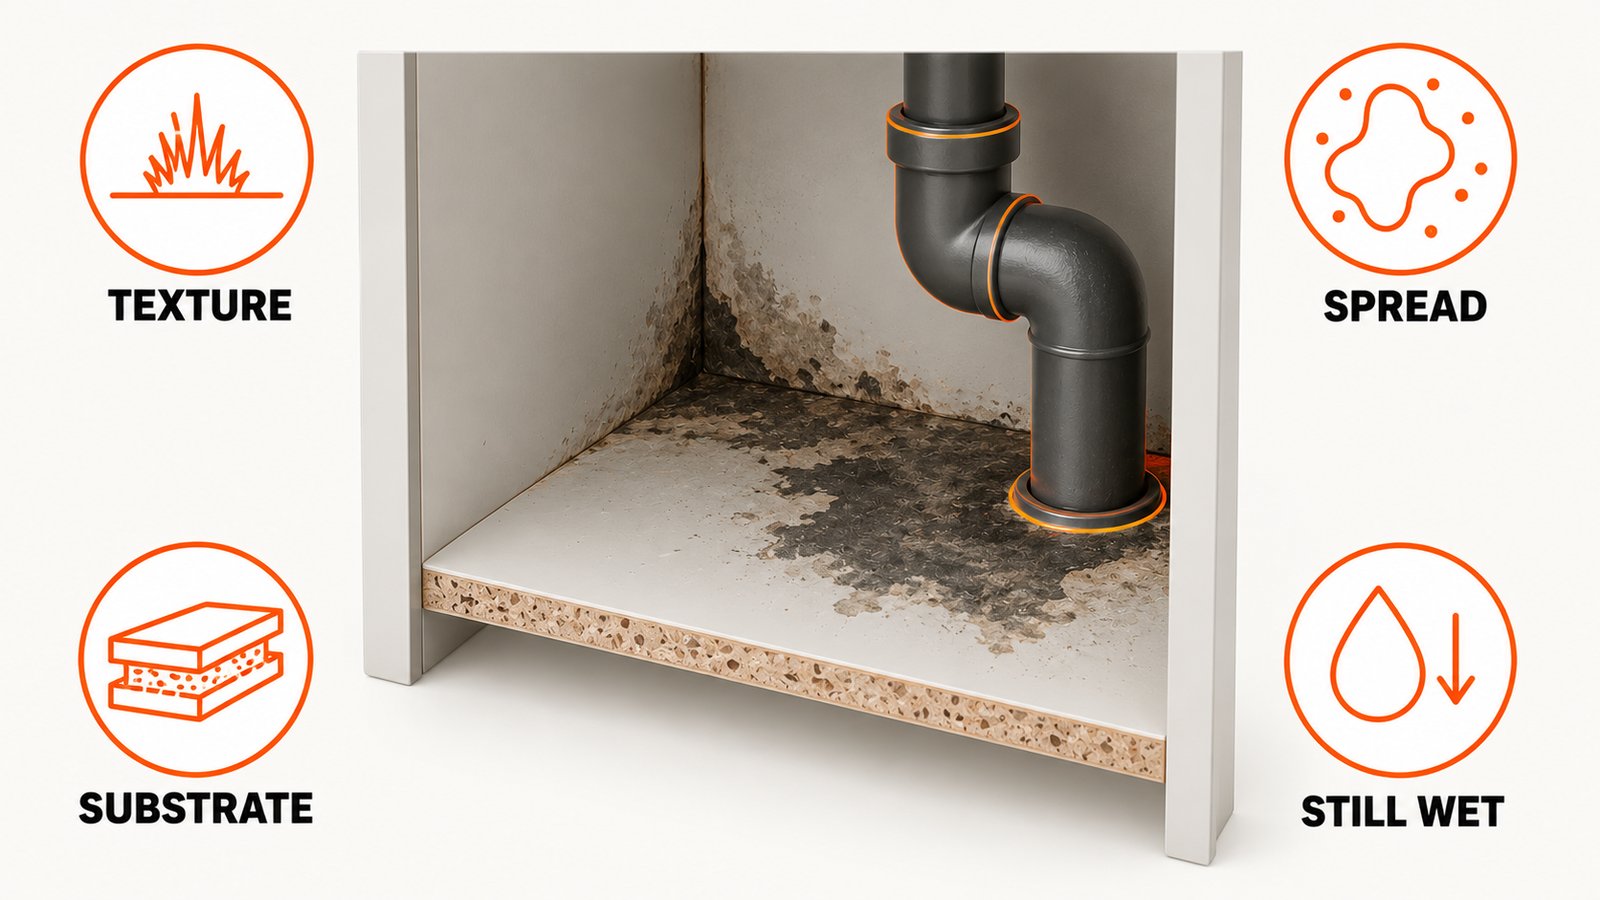
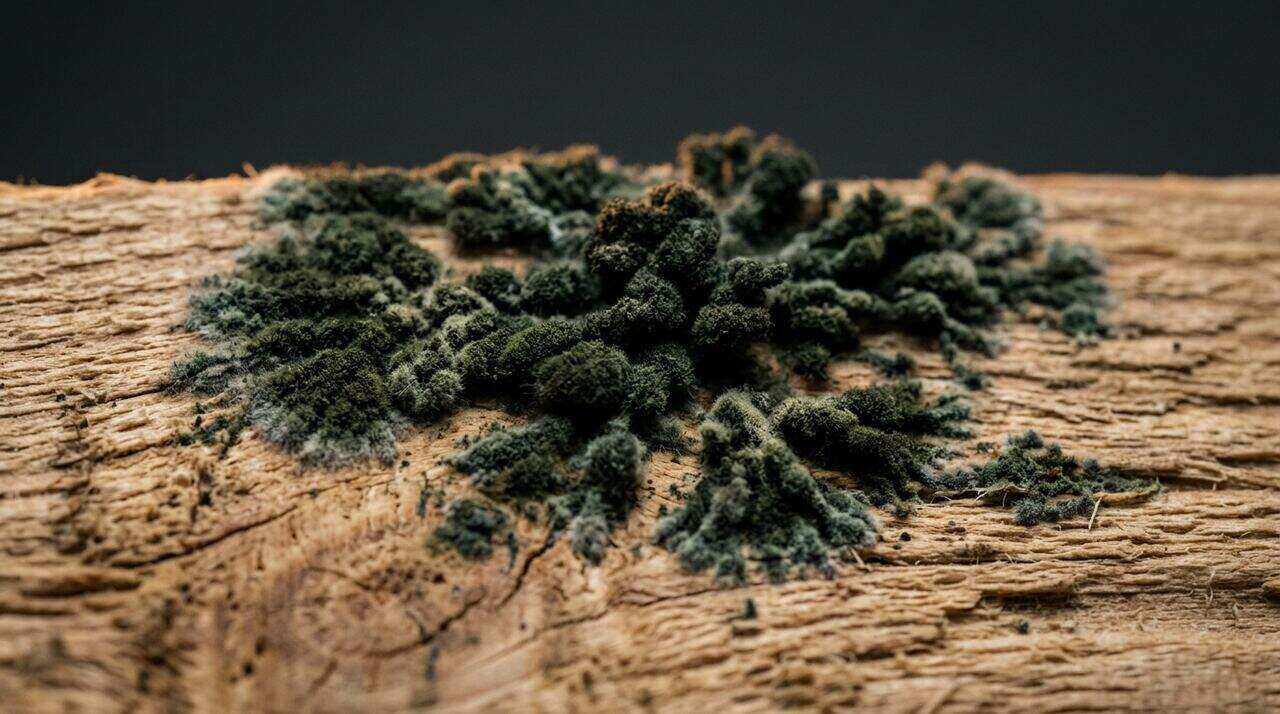
Search volume for black mold under sink runs far ahead of the rest, so it is worth being straight about what the color tells you. The answer is very little.
Several genera appear dark, and so do soot and ordinary dirt. The CDC states that you do not need to know the type of mold, and New York State's health department adds that knowing the kinds of mold present does not change the advice. Texas's licensing agency puts it in operational terms: testing to determine what kind of mold is present is not required prior to remediation or cleaning.
What actually changes your decision under a sink is three things, none of them color:
- Is the material sound or swollen? Sound gets cleaned, swollen gets replaced. That is the whole decision tree for a cabinet floor.
- How far has it spread? The EPA's threshold for handing a cleanup to a professional is about 10 square feet, roughly a 3-foot by 3-foot patch. A cabinet floor is usually well under that. A cabinet floor plus the wall behind it plus the subfloor might not be.
- Is the water still running? Growth that returns within weeks means the leak is not fixed.
The EPA describes molds generally as producing allergens, irritants, and in some cases potentially toxic substances, and notes that inhaling or touching mold or mold spores may cause allergic reactions in sensitive individuals. It also states that symptoms other than the allergic and irritant types are not commonly reported as a result of inhaling mold. Any health question belongs with a licensed physician, and New York State advises discussing health concerns with your doctor because symptoms could be caused by other exposures and illnesses. Our pages on black mold and identifying black mold cover the honest version of what dark growth is and is not.
Bleach or Vinegar?
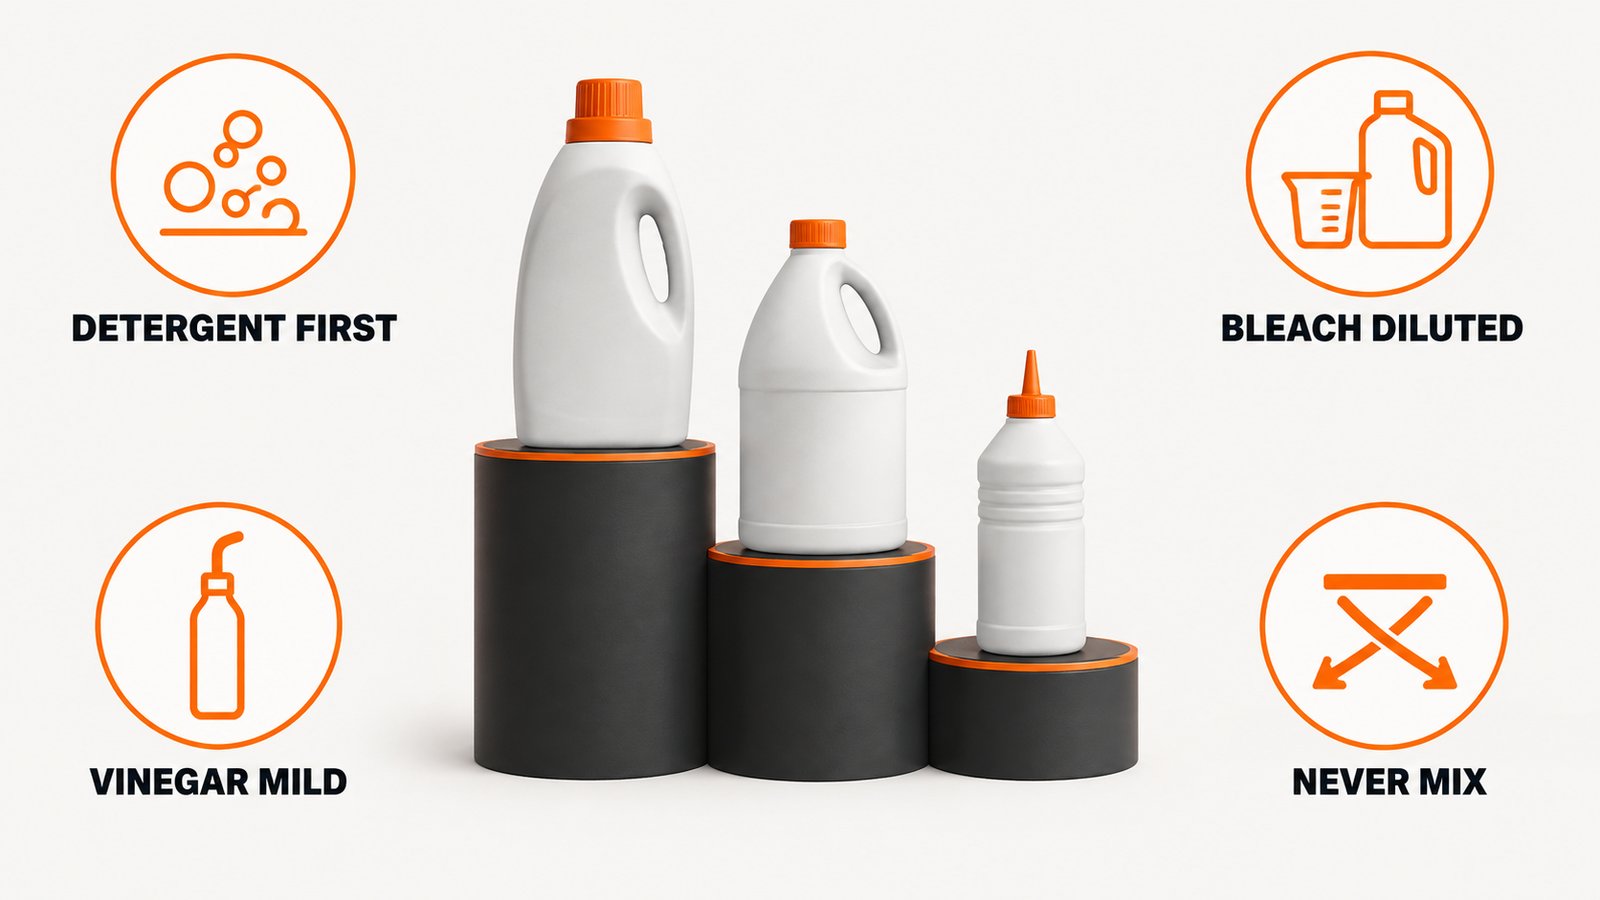
This is the most-asked question on this topic and the honest answer is that neither one is the main move. Drying the cabinet and fixing the leak does more than any cleaner will.
Start with detergent and water. The EPA's instruction for hard surfaces is exactly that: scrub mold off hard surfaces with detergent and water, and dry completely. It also states that the use of a chemical or biocide that kills organisms such as mold, chlorine bleach for example, is not recommended as a routine practice during mold cleanup, while noting there may be instances where professional judgment indicates its use, for example when immune-compromised individuals are present.
If you use bleach, use the published dilution. The CDC states that mold can be removed from hard surfaces with household products, soap and water, or a bleach solution of no more than 1 cup of household laundry bleach in 1 gallon of water. New York State gives a weaker mix, one cup of bleach in five gallons of water, for areas where it is impractical to eliminate the moisture source. Ventilate, and if you use disinfectants or biocides the EPA advises always ventilating the area and exhausting the air to the outdoors.
Vinegar is the milder option on a sealed surface. It is not an EPA-registered disinfectant and it will not restore porous material that has soaked through. Our page on whether vinegar kills mold covers where it works and where it fails, and does bleach kill mold covers the same for bleach, including why bleach performs poorly on porous material.
Never combine them, or anything else. The EPA is explicit: never mix chlorine bleach solution with other cleaning solutions or detergents that contain ammonia because toxic fumes could be produced. One product at a time, rinse in between, and remember that a kitchen sink cabinet is where the ammonia-based glass cleaner lives.
One thing no cleaner does is repair swollen board. If the floor gives under your thumb, put the bottle down and read the replacement section.
Dry It, Then Keep It Dry

Drying is the step people cut short, and it is the one the EPA puts a number on: if wet or damp materials or areas are dried 24 to 48 hours after a leak or spill happens, in most cases mold will not grow. That window is why acting the same day matters more than anything you do a week later.
Open the doors and leave them open. For days, not hours. A closed cabinet door undoes everything else on this list.
Put a fan on it. A small fan pointed into the cabinet moves more water out in an afternoon than a week of passive drying will. Aim it at the back corners.
Check with a meter, not by touch. The surface dries first and the core stays wet. A moisture meter, which the EPA prices at $10 to $50 at many hardware stores, reads the board rather than the skin.
Keep the room in range. The EPA advises indoor relative humidity below 60 percent, ideally between 30 and 50 percent. The CDC says to keep it as low as you can, no higher than 50 percent, all day long. Our humidity risk calculator turns a reading into a plain risk picture.
Then change what let it happen. Four habits that hold:
- Leave the cabinet doors open after running the dishwasher or doing a big wash. Fifteen minutes of airflow costs nothing.
- Stop storing cardboard under there. Boxes wick water, hide the floor, and are unsalvageable when they get wet.
- Put a drip tray or a plastic under-sink mat down, and lift it monthly. A tray that is never lifted is just a second surface holding water.
- Check the six connections twice a year. Paper towel under each one, run the tap, check the towel. Five minutes.
One caution on refinishing. The EPA advises not to paint or caulk moldy surfaces, and to clean up the mold and dry the surfaces before painting, because paint applied over moldy surfaces is likely to peel. Sealing a damp cabinet floor traps the problem under the coating. Our page on painting over mold covers why.
When the Cabinet Floor Comes Out
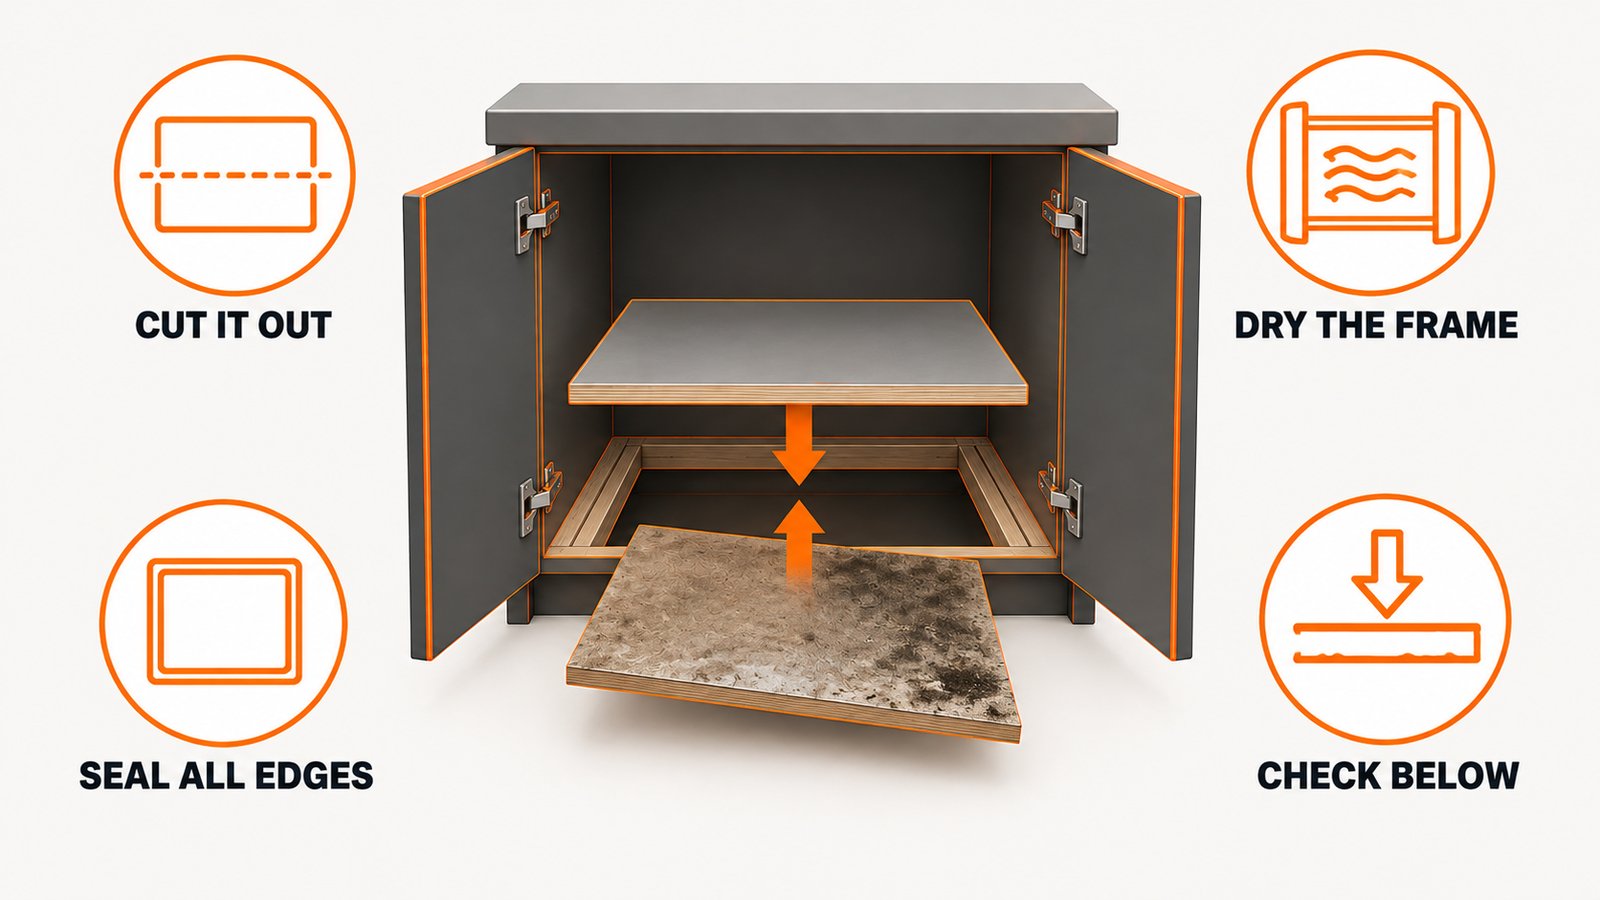
Replacement is a normal outcome here, not a failure. The EPA's reasoning covers it: absorbent or porous materials may have to be thrown away if they become moldy, because mold can grow into the empty spaces and crevices of porous materials and may be difficult or impossible to remove completely.
Replace the cabinet floor when any of these are true:
- The board gives under thumb pressure. Swollen particleboard has lost its bond and will not recover as it dries.
- The melamine or veneer skin has lifted or bubbled. Water is behind the skin, which means it is in the core.
- Growth returns after a proper clean and a full dry. That is growth in the material rather than on it.
- The staining goes right through to the underside. Check from below through the toe kick if you can.
The usual approach is to cut out the affected deck rather than pull the whole cabinet: score and remove the damaged panel, treat and dry the framing underneath, then fit a new deck cut from moisture-resistant plywood or a solid surface offcut, sealed on all faces and all cut edges before it goes in. Sealing the edges is the step that prevents a repeat, because raw cut edges around plumbing penetrations are where water entered the first time.
Two things to check while the floor is out, since you will never have better access. Look at the subfloor underneath for staining or softness, and look at the back of the cabinet and the wall behind it. If either is wet, the job is bigger than a cabinet deck and belongs in the next section.
Wear the same protection for the removal as for the cleaning. Cutting and lifting damaged board releases far more spores than wiping a surface does, which is the same effect the EPA describes when it warns that removing wallpaper can lead to a massive release of spores if mold is growing on the underside.
When to Call a Pro
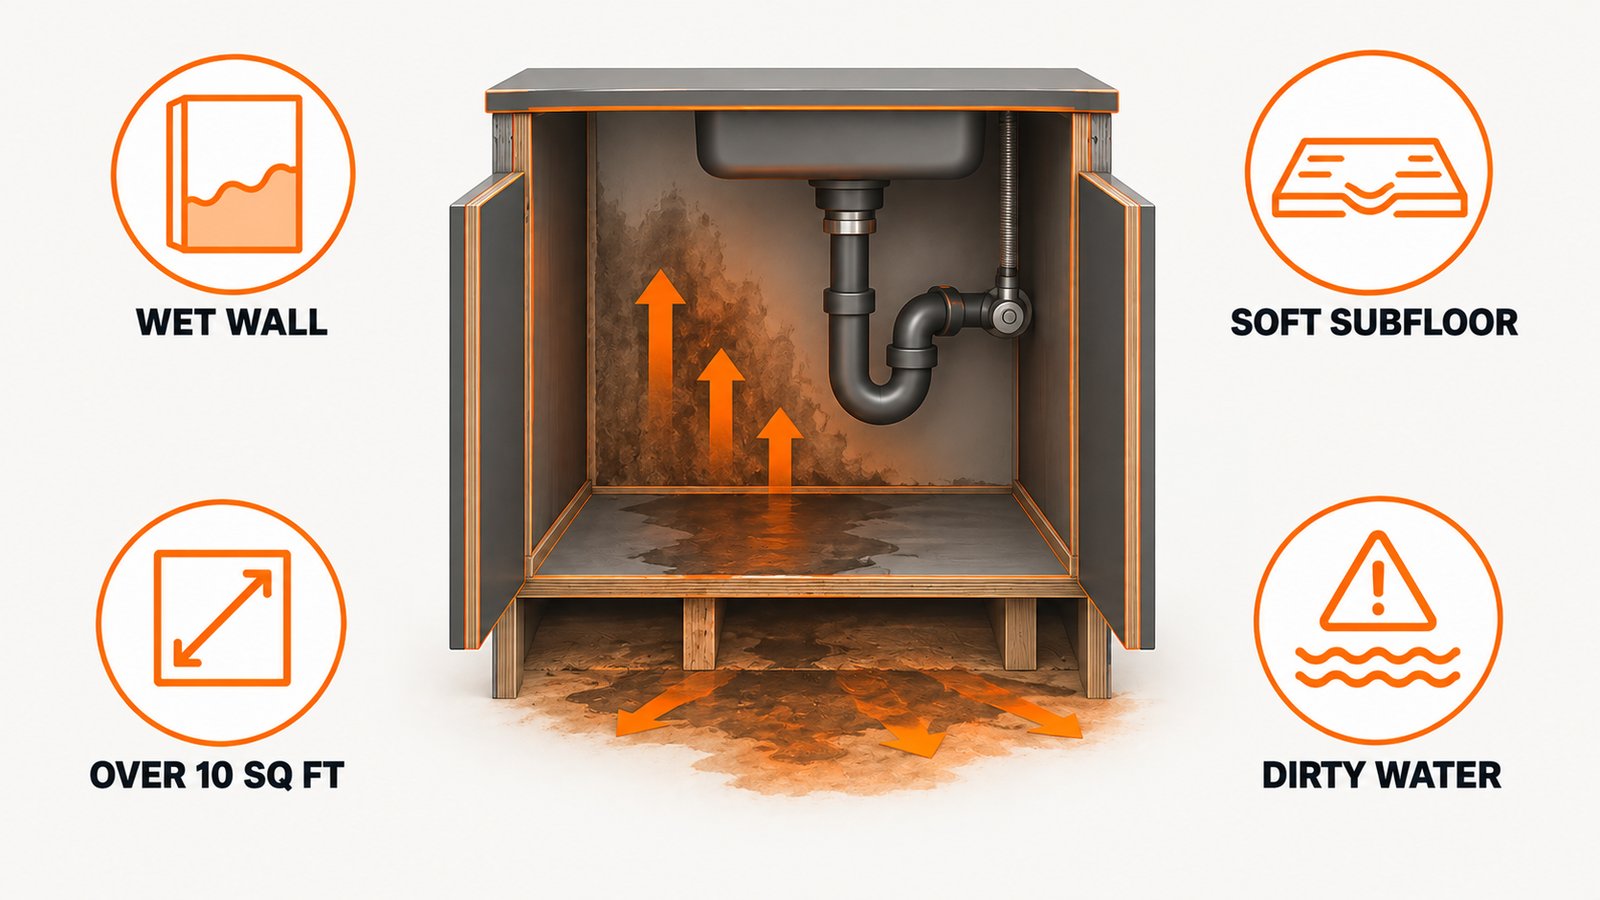
Most under-sink jobs are a homeowner job. These are the versions that are not.
- Growth covers more than about 10 square feet, roughly a 3-foot by 3-foot patch. The EPA's threshold for handing off a cleanup, and the same figure New York State uses for calling in a licensed contractor. A cabinet floor rarely reaches it. A cabinet plus wall plus subfloor can.
- The wall behind the cabinet is wet. That points at a supply line or drain inside the wall. Opening a wall is a plumber and possibly a remediation job, and the EPA notes that investigating hidden mold may require a professional with experience in water-damaged and mold-damaged buildings, using equipment such as borescopes and moisture meters.
- The subfloor is soft or the flooring is lifting. Structural material and a much bigger drying problem.
- Sewage or other contaminated water was involved. A backed-up drain line is not the same as a clean supply leak. The EPA says to call in a professional who has experience cleaning and fixing buildings damaged by contaminated water.
- You cannot find the leak. A cabinet that keeps getting wet with no visible source needs a plumber before it needs a cleaner.
- Anyone in the home is at higher risk. The CDC notes that people with asthma or who are allergic to mold may have severe reactions, and that immune-compromised people and people with chronic lung disease may get infections in their lungs from mold. The EPA advises consulting a health professional before starting cleanup if you have health concerns.
When you hire, look for a contractor working to the ANSI/IICRC S520 standard for professional mold remediation and check whether your state licenses this work. Our mold remediation certification page maps who is licensed where, and how to get rid of mold covers everything below that threshold.
Frequently asked questions
How serious is mold under the sink?
The growth itself is usually a small job. What matters is what caused it. A cabinet floor with visible growth is well under the EPA's roughly 10-square-foot threshold for hiring a professional, so most homeowners can handle it. The serious version is when the water has reached the wall behind the cabinet or the subfloor below it, because that is a structural drying problem rather than a cleaning one.
What causes mold under a kitchen sink?
Almost always a slow leak from one of six connections: the two supply shutoff valves, the P-trap and drain assembly, the garbage disposal seal, the faucet base where water works past the deck, the dishwasher drain line, or a failed seal around the sink rim. A closed cabinet with no airflow and a porous particleboard floor turns a small drip into growth within days.
Is bleach or vinegar better for black mold under a sink?
Neither is the main move. The EPA's instruction for hard surfaces is to scrub with detergent and water and dry completely, and it states that using a biocide such as chlorine bleach is not recommended as a routine practice during mold cleanup. If you do use bleach, the CDC's dilution is no more than 1 cup of household laundry bleach in 1 gallon of water. Never mix bleach with cleaners containing ammonia, because the EPA warns toxic fumes could be produced.
Do undermount sinks get mold?
They can, and the failure point is the seal rather than the sink. Water on the counter that works past an aged rim seal or mounting adhesive runs down inside the cabinet, which reads like a plumbing leak but is not. The tell is that the top of the cabinet floor and the underside of the counter edge are wet while all six plumbing connections stay dry.
Do I have to replace the cabinet floor?
Only if the board has taken water. Press it with a thumb: sound particleboard is hard, and swollen board gives. If it gives, if the melamine skin has lifted or bubbled, or if growth returns after a proper clean and a full dry, replace it. The EPA notes that porous materials may have to be thrown away because mold can fill their crevices and be difficult or impossible to remove completely.
How long should I leave the cabinet drying?
Days, with the doors open and a fan pointed into the back corners. The EPA states that if wet or damp materials are dried 24 to 48 hours after a leak or spill, in most cases mold will not grow, which makes the first two days the ones that count. Check with a moisture meter rather than by touch, because the surface dries long before the core does.
Do I need to know what type of mold it is?
No. The CDC states that you do not need to know the type of mold, New York State's health department adds that knowing the kinds present does not change the advice, and Texas's licensing agency states that testing to determine what kind of mold is present is not required prior to remediation or cleaning. Under a sink, the decisions that matter are whether the material is sound and whether the leak is fixed.
Can I paint or seal over the stain when I am done?
Not until the surface is clean and fully dry. The EPA advises not to paint or caulk moldy surfaces, to clean up the mold and dry the surfaces before painting, and notes that paint applied over moldy surfaces is likely to peel. Sealing a damp cabinet floor traps moisture under the coating and hides the problem rather than solving it.
Sources
Every claim on this page traces to one of these. Links open the primary document.