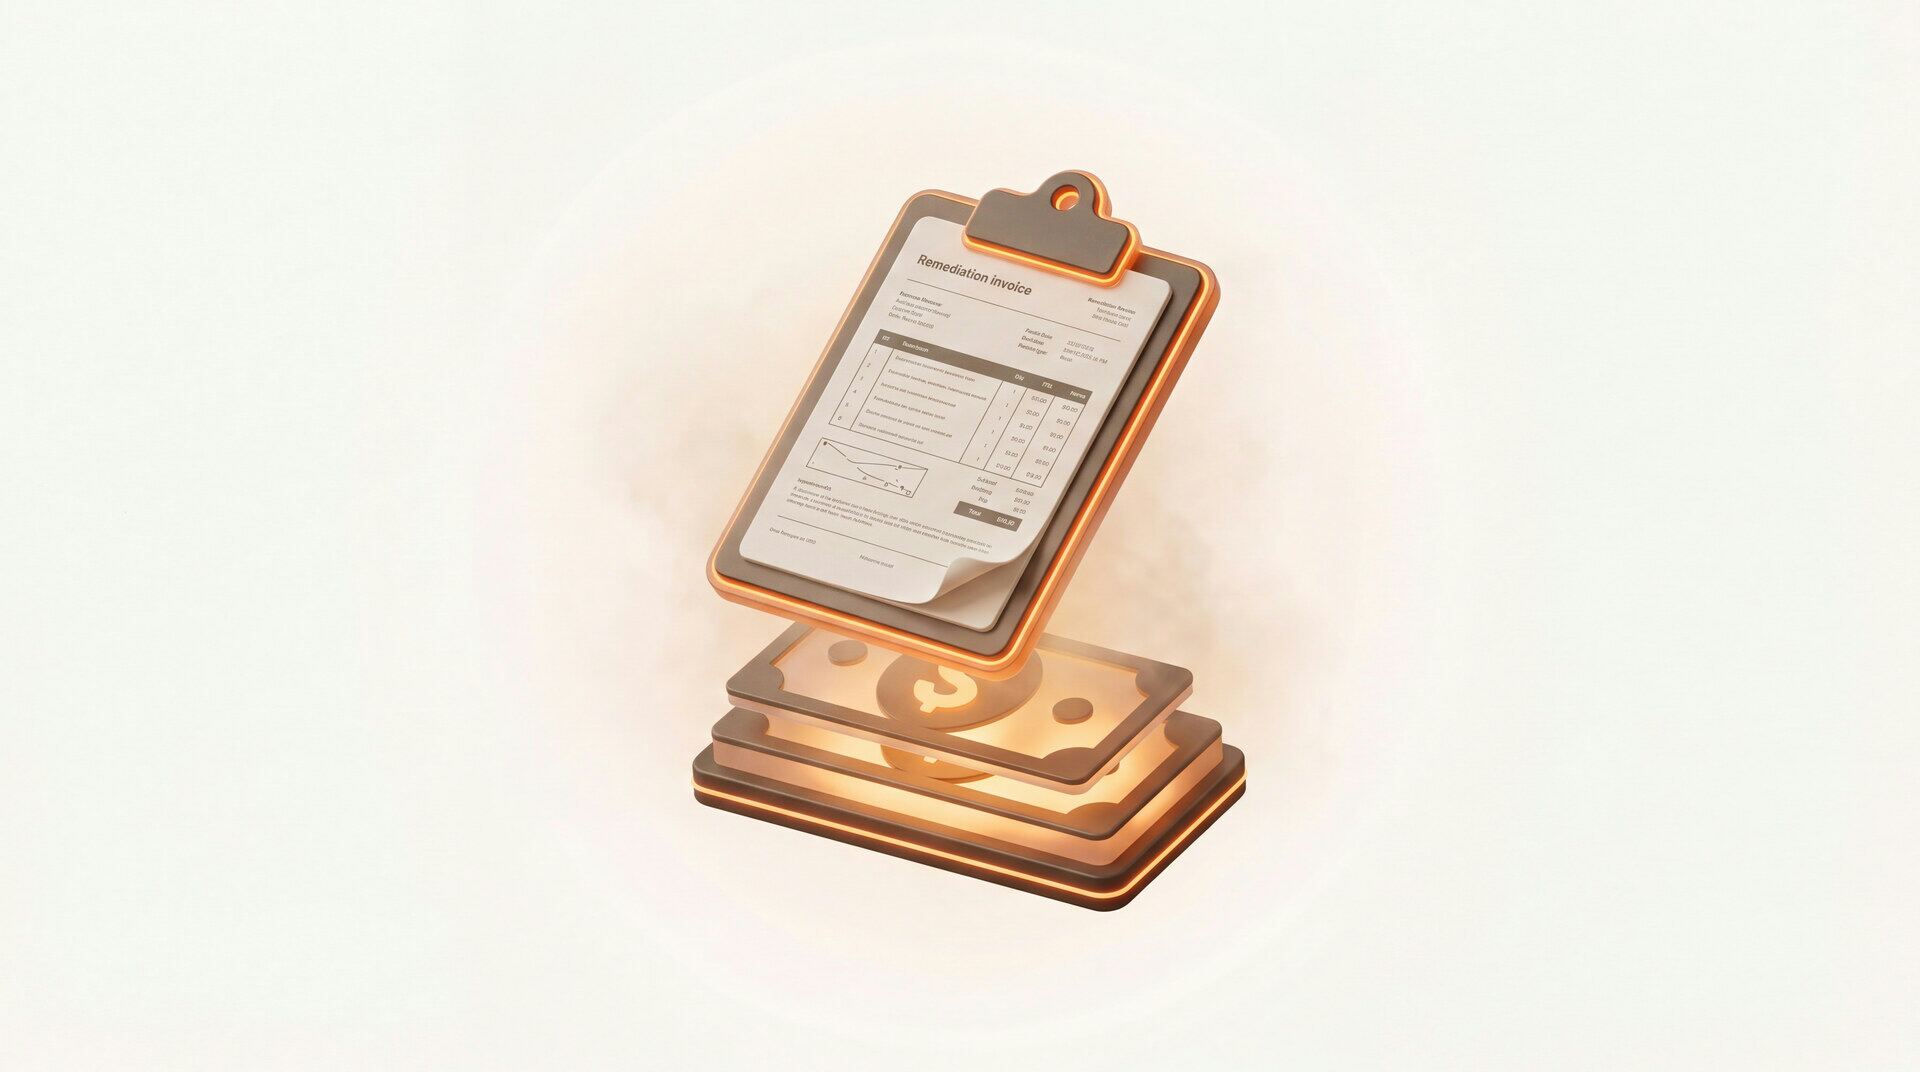
How to Get Rid of Mold: The Complete Step by Step Guide
Fix the water source first. Then clean small areas (under 10 sq ft) yourself with a mold-control product and a HEPA vacuum. Wear an N95 mask, gloves, and goggles. Never use bleach. For larger areas, hire a qualified mold remediation professional (one who follows the IICRC S520 standard; ACAC or RIA credentials and state licenses count too). Always test after remediation to confirm the mold is gone.
The expert 3 pillar framework: source, remediate, maintain
The following framework comes from IICRC and ACAC certified remediation science experts. This framework is the clearest approach to mold removal we found across all the mold experts we studied. Every successful mold remediation follows three steps in this exact order.
Pillar 1: Fix the source. Find and eliminate the moisture that is feeding the mold. This could be a roof leak, plumbing drip, foundation crack, condensation from poor ventilation, or high humidity. If you skip this step, everything else is temporary. You will clean the mold, it will come back, you will clean it again, and the cycle repeats forever. Kill the water, kill the mold.
Pillar 2: Remediate. Remove the mold and all contaminated materials. This means physical removal, not just spraying chemicals on it. Mold on porous materials like drywall must be cut out and replaced. Mold on hard surfaces must be scrubbed clean with proper products. HEPA filtration must run during the entire process.
Pillar 3: Maintain. Keep humidity below 50% with dehumidifiers. Run exhaust fans in bathrooms during and after showers. Inspect problem areas monthly. Clean HVAC filters regularly. Remediation experts say the HVAC coil is always wet and is a primary mold colony site. Have it inspected and cleaned at least once every 2 years.
DIY mold removal: step by step (for areas under 10 sq ft)
The EPA says homeowners can safely handle mold remediation on areas smaller than 10 square feet. That is roughly a 3 foot by 3 foot patch. Here is the complete process.
Step 1: Fix the water. Find the source. Repair the leak. Dry the area. If you cannot identify the source, hire a moisture inspection professional with a thermal camera. Do not proceed to cleaning until the water source is fixed.
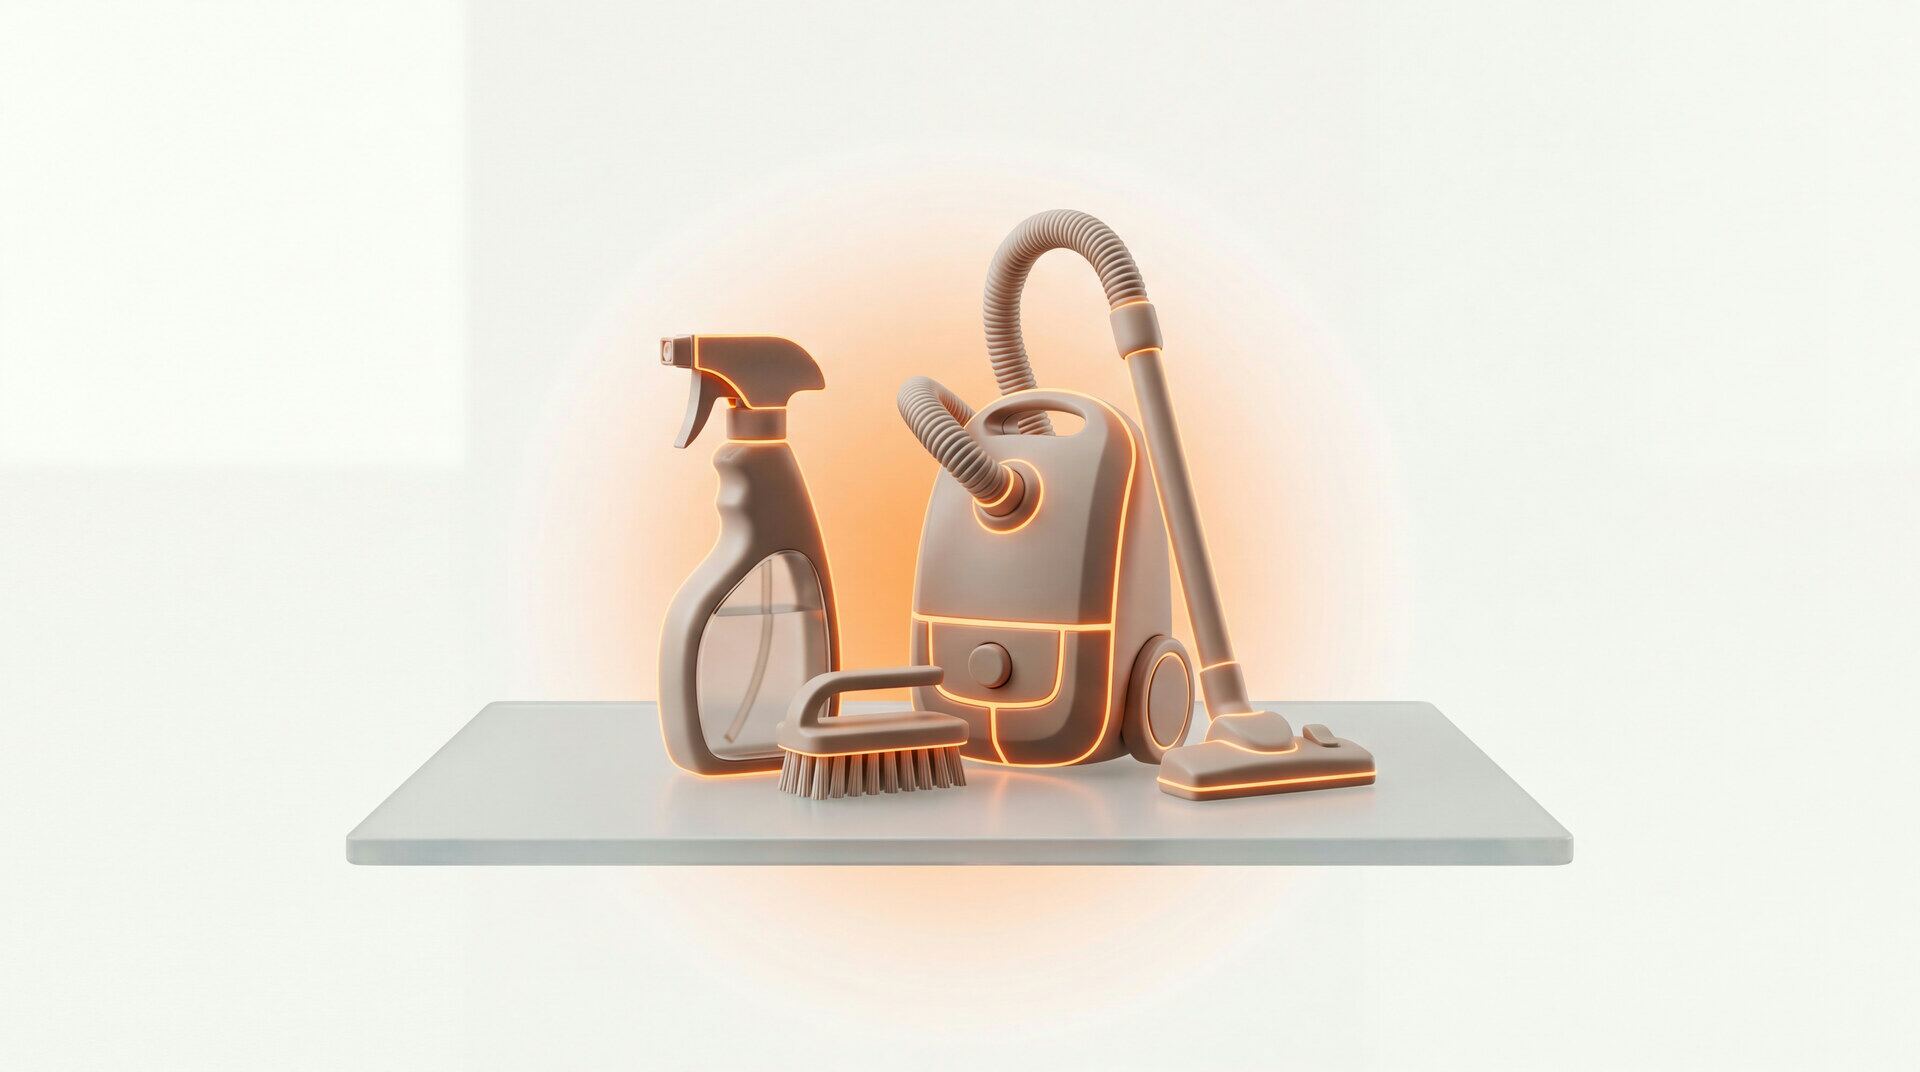
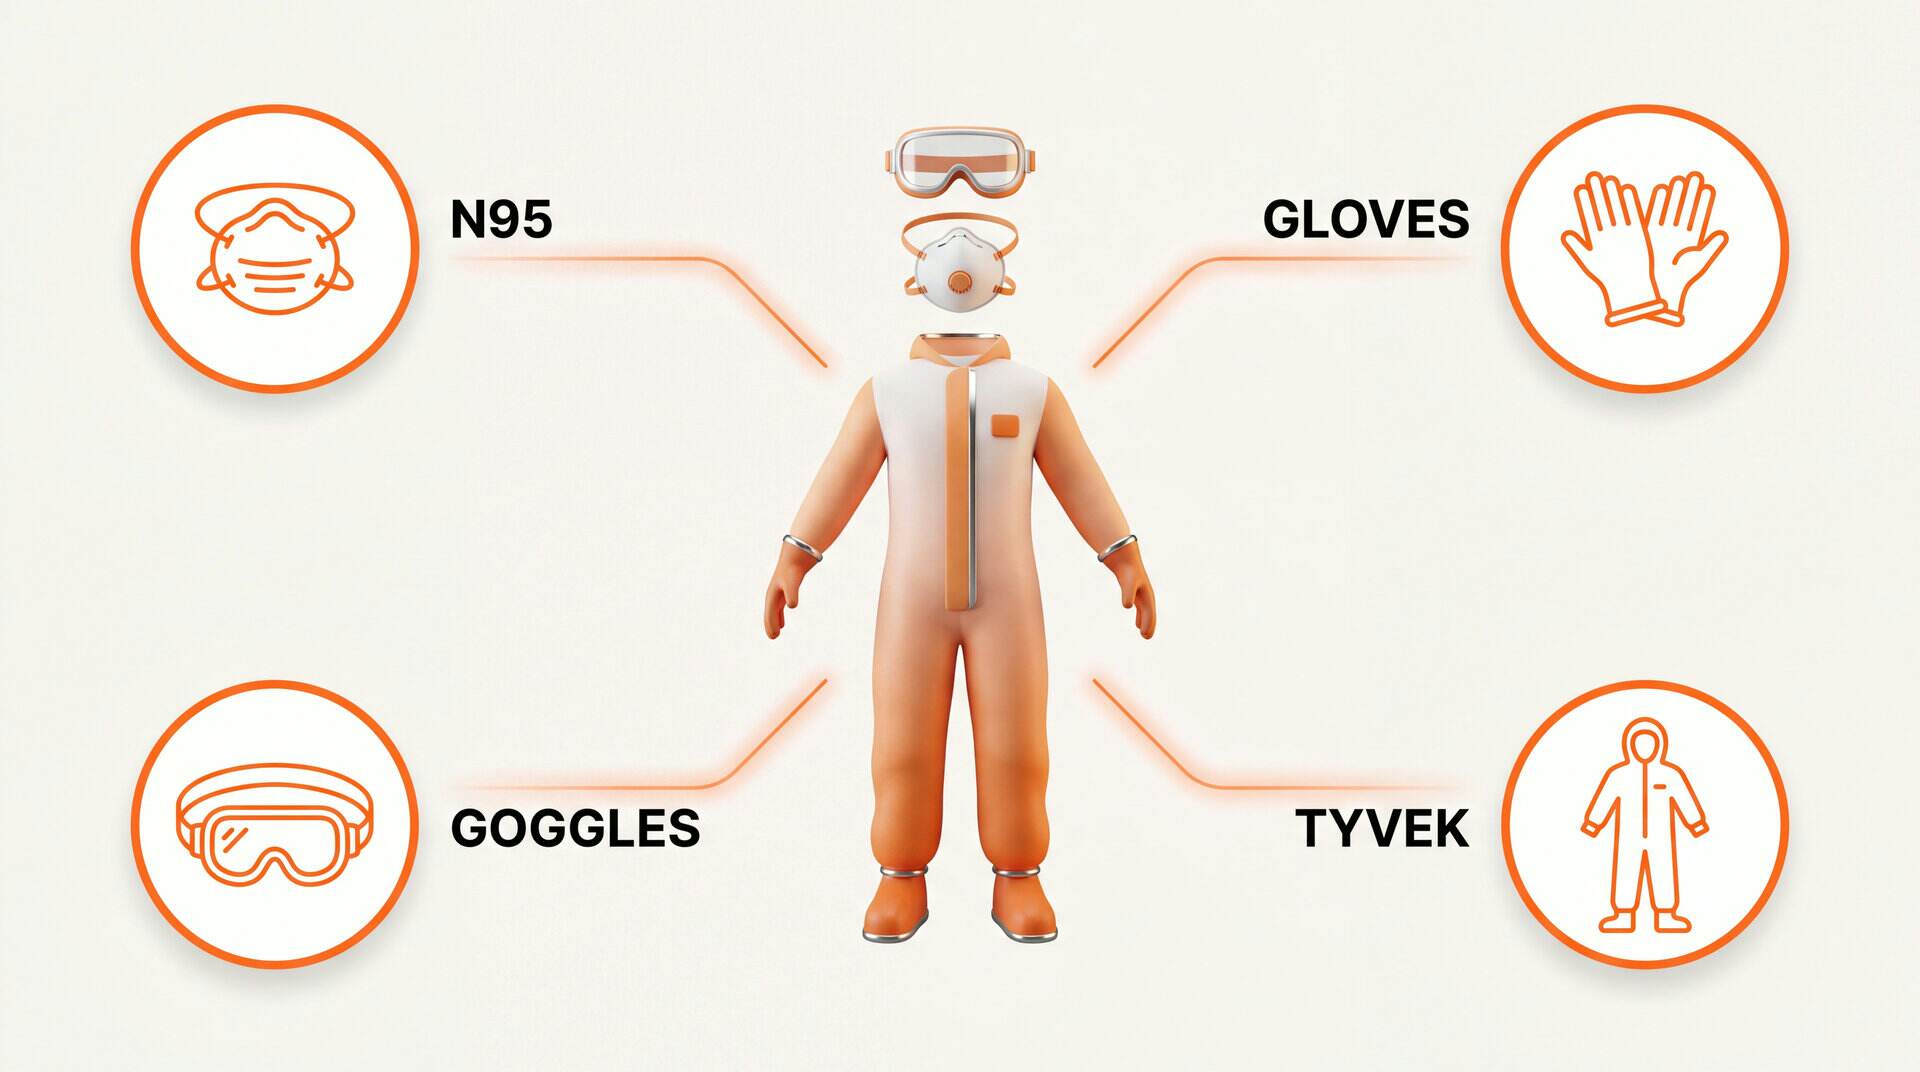
Step 2: Gear up. Put on an N95 respirator mask (not a surgical mask, not a cloth mask). Put on nitrile gloves. Put on safety goggles that seal around your eyes. Wear old clothes you can throw away after. This is not optional. Disturbing mold creates an explosion of spores. Without protection, you will inhale more spores in 10 minutes of cleaning than you would in a month of just living in the room.
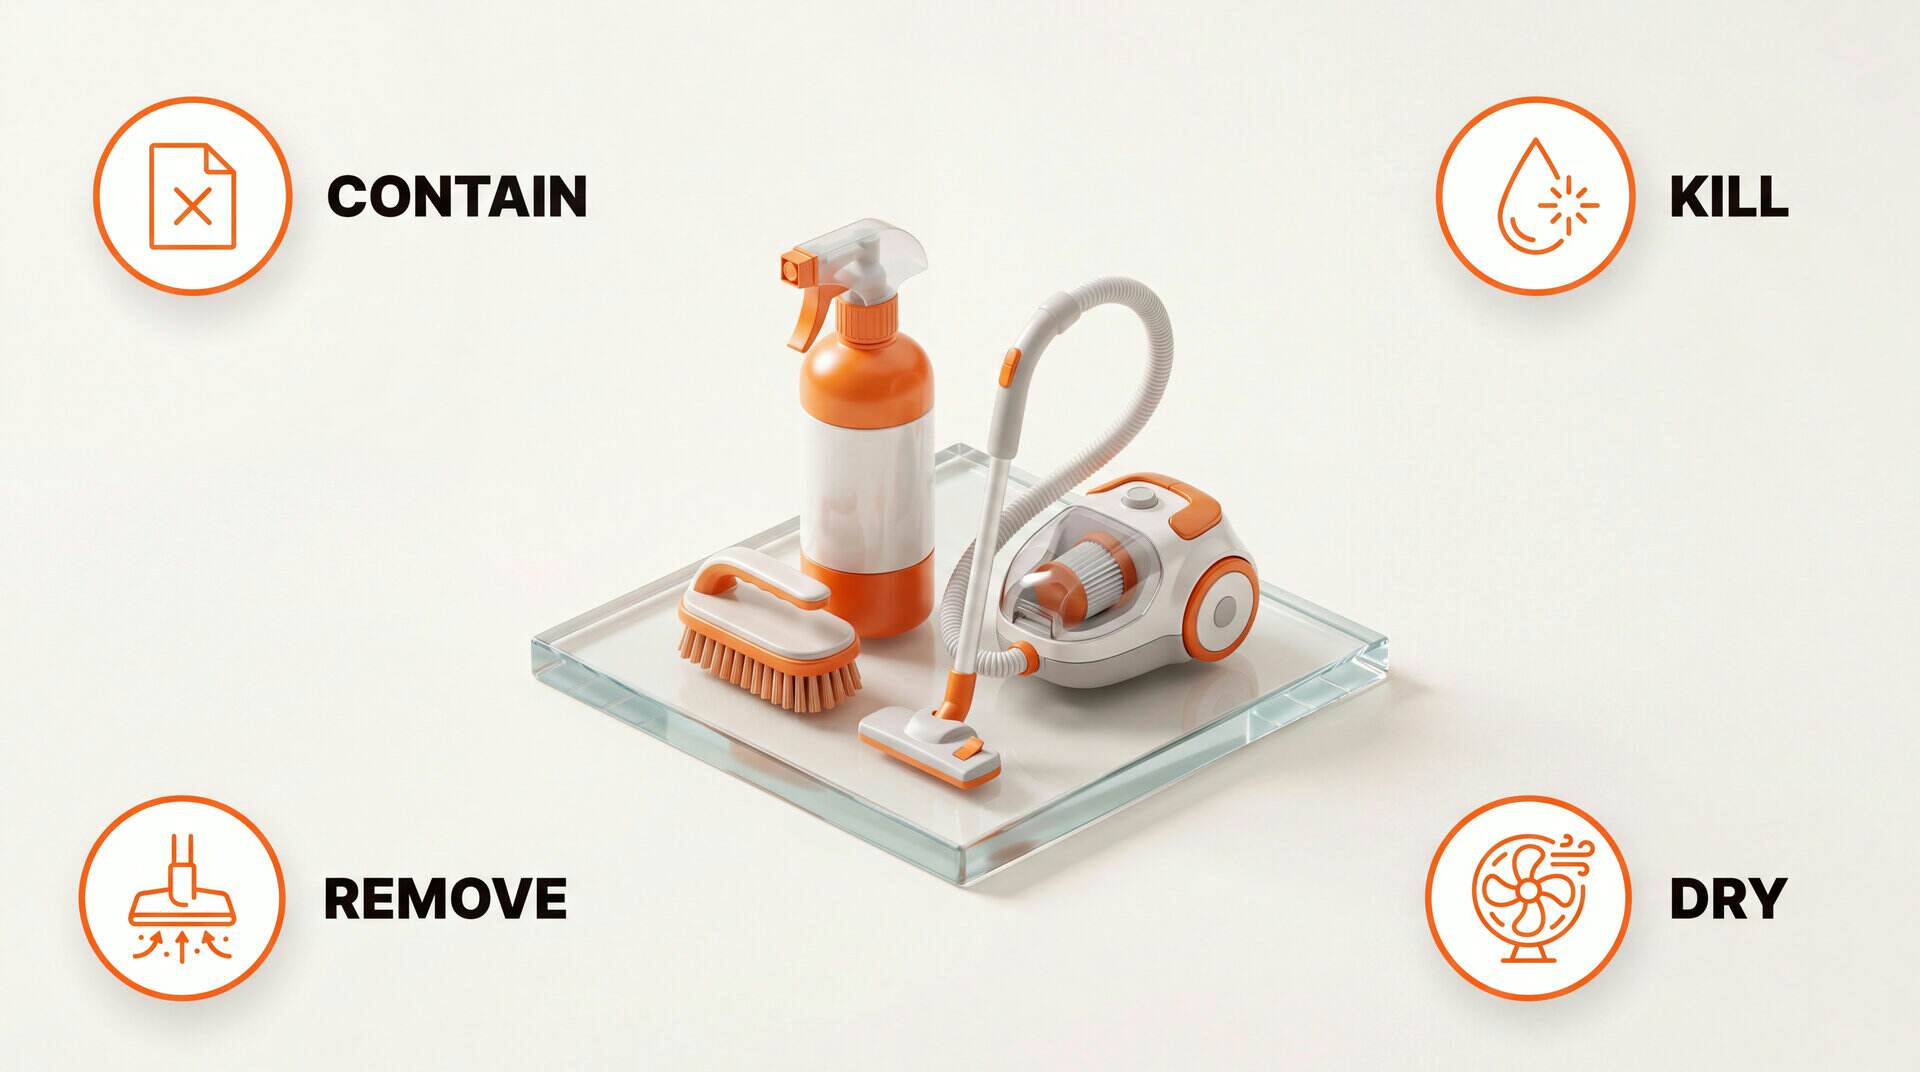
Step 3: Contain. Close the door to the work area. Seal the gap under the door with a damp towel. Turn off the HVAC system so spores do not spread through the ductwork. Open a window in the work room if possible for fresh air.
Step 4: Run HEPA filtration. Place a HEPA air purifier in the work room and turn it on high. Keep it running during the entire remediation and for 24 hours after. HEPA filters capture mold spores down to 0.3 microns. Remediation experts recommend the Intellipure Compact, which captures particles down to 0.007 microns.
Step 5: Remove contaminated materials. On drywall: if mold has penetrated through the paper backing, cut out the affected section plus 12 inches beyond visible growth. Bag the debris in heavy duty plastic bags. On hard surfaces: HEPA vacuum first, then spray with a no-bleach mold-control product or hydrogen peroxide.
Step 6: Clean. Let the cleaning product dry completely (4 to 24 hours for a mold-control product). Then scrub with a stiff brush. HEPA vacuum the debris. Apply a second coat of a mold-control product for residual protection. Repeat the clean cycle 3 times total. The professional remediation protocol calls for 3 complete cleaning cycles before a surface passes.
Step 7: Seal. Apply a stain-blocking primer on concrete. Apply mold-resistant paint on drywall. These seal any remaining spores and create a mold resistant barrier.
Step 8: Maintain. Run a dehumidifier to keep humidity below 50%. Monitor the area weekly for the first month. Test with an ERMI or HERTSMI-2 dust sample 2 to 4 weeks after remediation to confirm success.
When to hire a professional (and how to pick the right one)
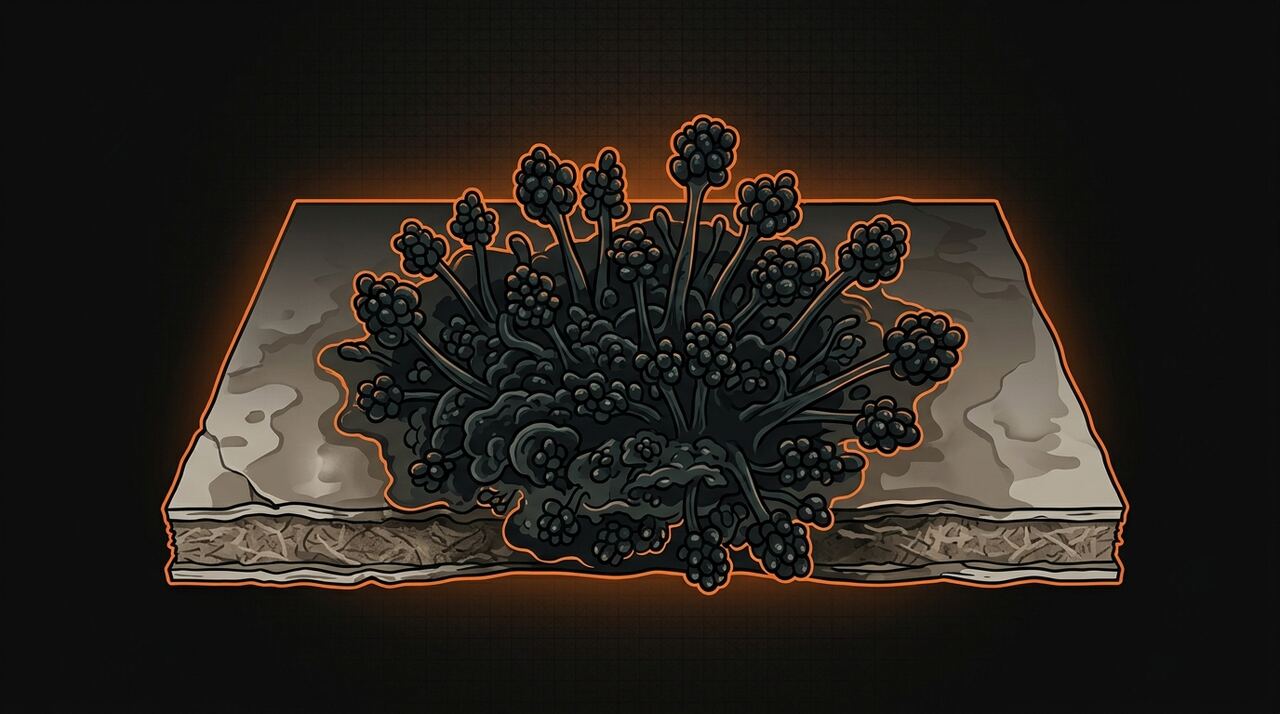
Hire a pro when: The affected area is larger than 10 square feet. The mold is in the HVAC system. Anyone in the home has health symptoms (especially the "better away, worse at home" pattern). The mold is a dangerous species like Stachybotrys (black mold). You cannot find the moisture source. The mold keeps coming back after DIY cleaning. There is mold behind walls that you cannot access safely.
How to choose the right company: Look for IICRC S520 certification. This is the industry standard for mold remediation. Ask for references and follow up on them. Get at least 3 quotes. Be suspicious of companies that offer free inspections because that is often a sales pitch disguised as a service.
The independence rule: Your mold inspector must be a separate company from your mold remediator. If the same company that tells you how bad the mold is also charges you to remove it, that is a conflict of interest. Every expert we studied warns about this. Every leading mold expert says the inspector and the remediator must be independent. The inspector finds the problem. The remediator fixes it. A different inspector verifies the fix.
Room by room mold removal tips
Bathroom: The shower ceiling directly above the showerhead is the number one mold spot. Clean grout with hydrogen peroxide. Replace moldy caulk entirely because mold grows inside caulk and cannot be cleaned. Run the exhaust fan during and 30 minutes after every shower. If there is no exhaust fan, install one. A bathroom without an exhaust fan will grow mold.
Basement: Check lower walls where foundation moisture wicks up. Look behind stored boxes sitting on concrete. If the basement floods, you have 24 to 48 hours before mold starts growing. Run dehumidifiers and fans immediately. Consider a whole house dehumidifier for chronic basement humidity.
Kitchen: Check under the sink where supply lines connect. The P-trap and garbage disposal drain are common drip points. Pull out the fridge and check the drip pan and the wall behind it. Inspect the dishwasher door seal.
Bedroom: Closet ceiling corners against exterior walls are prime mold spots because dead air meets cold surfaces. Wall behind the headboard can trap moisture. Check the underside of the mattress if the room feels damp.
Attic: Look at the underside of roof sheathing. Poor attic ventilation traps moisture from the living space below. If you see dark staining on the plywood, that is likely mold. Improving attic ventilation (ridge vents, soffit vents) is often the fix.
HVAC: If mold is in your HVAC system, every room in the house is exposed with every cycle. This requires professional remediation. The ductwork needs to be cleaned or replaced. The evaporator coil needs to be treated. Remediation experts say the coil is always wet, making it the most common mold colony site in any home.
Post remediation testing: how to confirm the mold is gone
Cleaning mold without testing afterward is like going to the doctor and skipping the follow up. You need proof that the remediation worked. Here is how to verify.
Wait 2 to 4 weeks. Do not test immediately after remediation. Give the environment time to stabilize. If there is hidden mold you missed, it will begin to show signs within this window.
Run an ERMI or HERTSMI-2 test. Collect a dust sample and send it to the lab. The CIRS protocol says a HERTSMI-2 score below 11 means the home is safe for re-entry, including for mold sensitive individuals. If the score is above 11, more remediation is needed.
Use an independent tester. The person or company that tests the results should not be the same company that did the remediation. This is the same independence rule that applies to the initial inspection. Independent testing keeps everyone honest.
What if the test fails? If post-remediation testing shows elevated mold levels, there is likely a hidden source you missed. Common culprits: mold inside wall cavities, contaminated HVAC ductwork, mold under flooring, or a moisture source that was not fully resolved. Hire a professional inspector with a thermal camera to find what you missed.
Find all the mold before you start removing it
Our app walks you through 160 professional mold hotspots room by room. Same checklist professional mold inspectors use. AI powered verdict in 30 seconds.
Get Early AccessFrequently Asked Questions
Can I remove mold myself or do I need a professional?
You can remove mold yourself if the affected area is smaller than 10 square feet (about a 3x3 foot patch). For anything larger, the EPA recommends hiring a qualified mold remediation professional (one who follows the IICRC S520 standard; ACAC or RIA credentials and state licenses count too). Also hire a pro if the mold is in your HVAC system, if anyone in the home has health symptoms, or if the mold keeps coming back after cleaning.
What is the first step in mold removal?
Fix the water source. This is step one in the expert 3 pillar framework: source, remediate, maintain. If you clean mold without fixing the moisture problem, it will grow back within days. Find the leak, condensation source, or humidity issue and fix it before touching the mold.
Should I use bleach to kill mold?
No. Never use bleach for mold. Bleach only kills surface mold on non-porous materials. On drywall, wood, and grout, it cannot reach the roots. It also adds moisture that feeds regrowth. Use a no-bleach mold-control product, hydrogen peroxide, or a botanical disinfectant instead. Every mold expert agrees on this.
Do I need to test after mold removal?
Yes. Post remediation testing confirms the mold is actually gone. Get an ERMI or HERTSMI-2 dust test 2 to 4 weeks after remediation. On the HERTSMI-2 band scale (below 11 safe, 11 to 15 borderline, above 15 danger), a score below 11 means the home is safe. The testing must be done by someone independent from the remediation company.