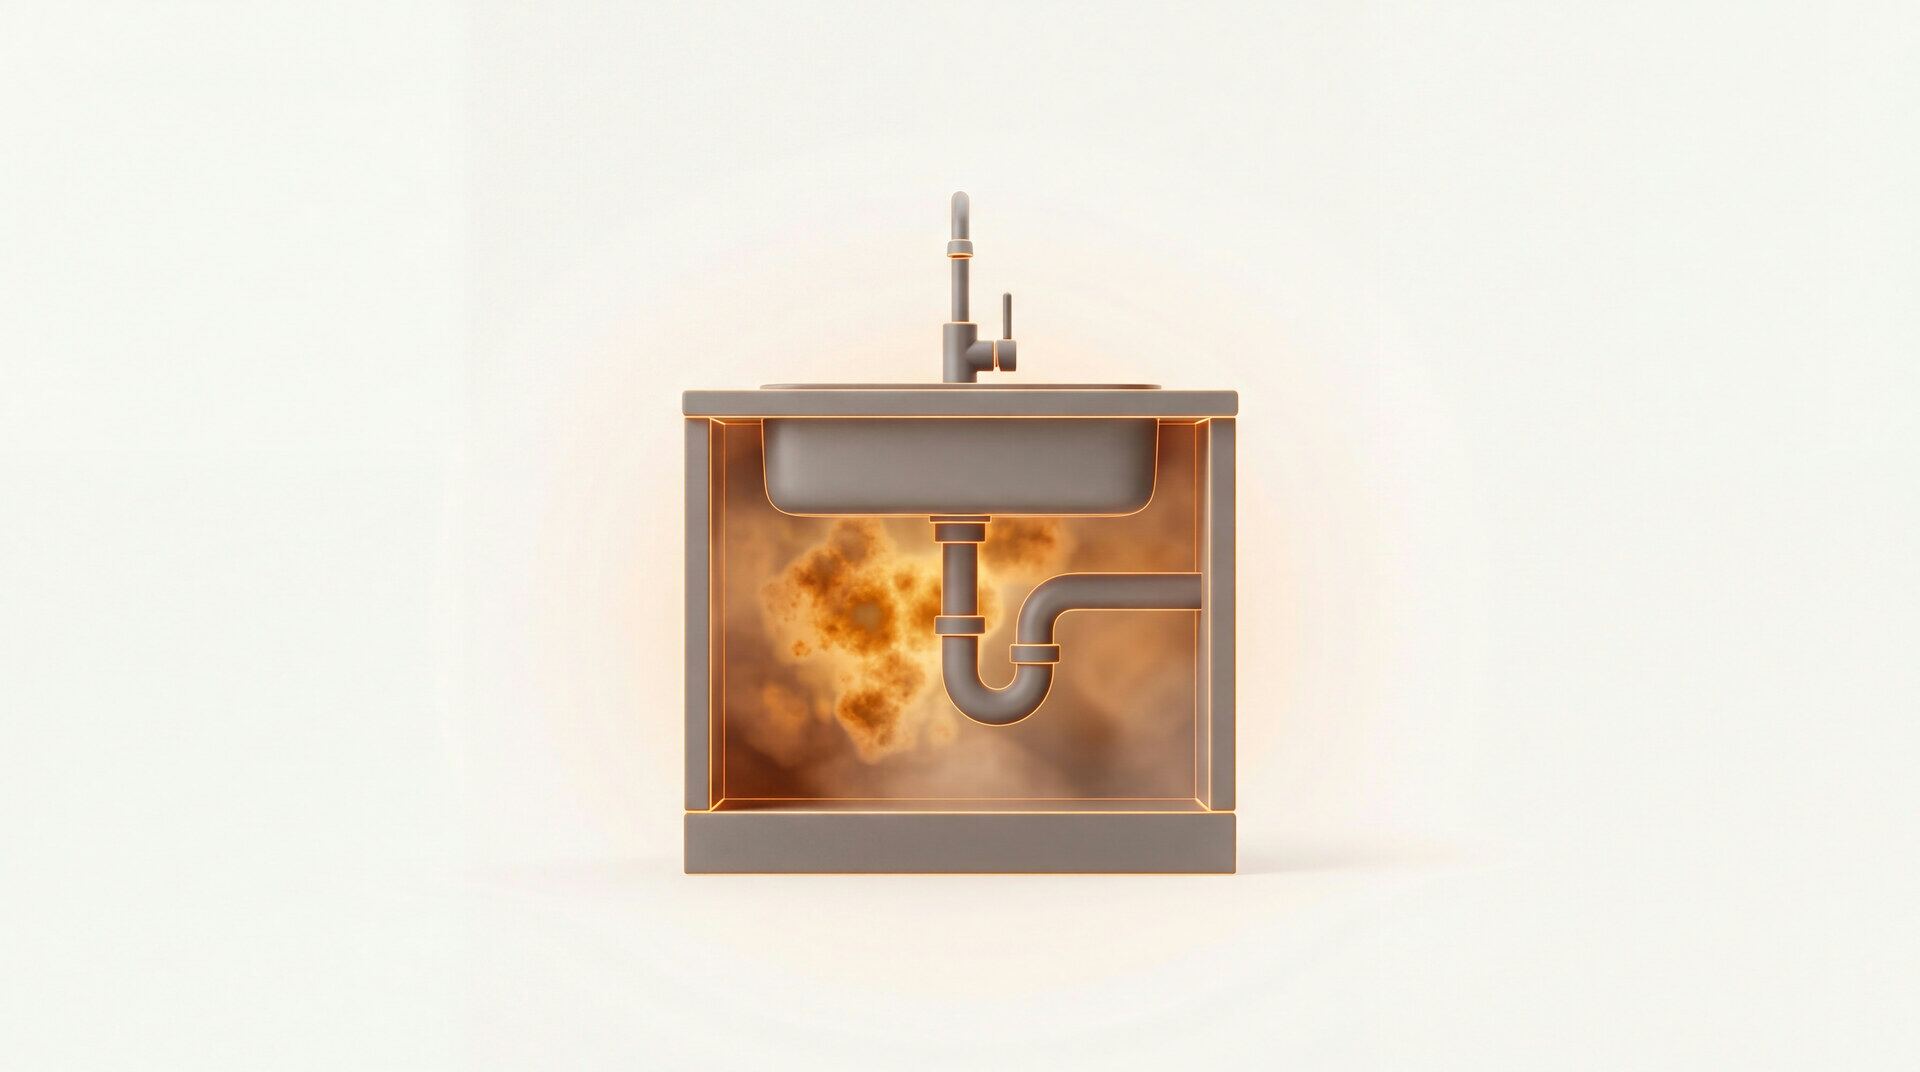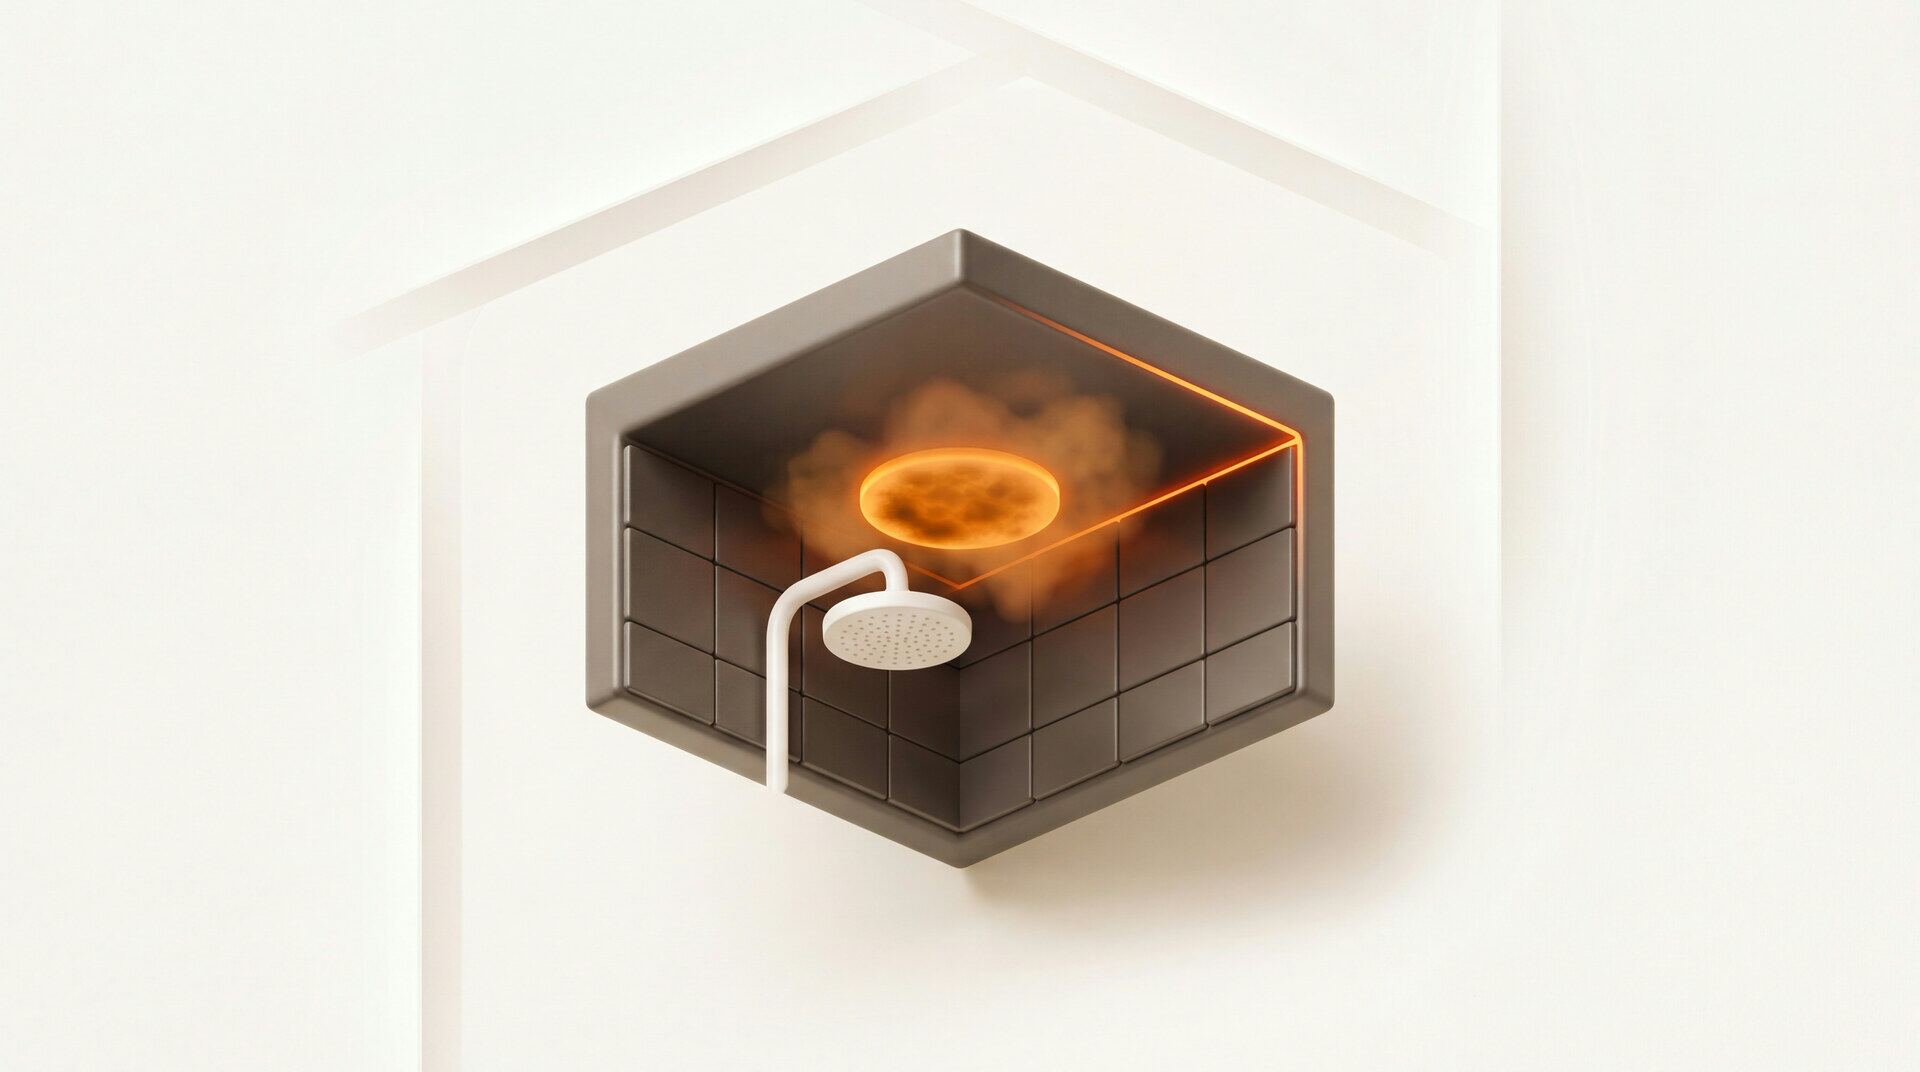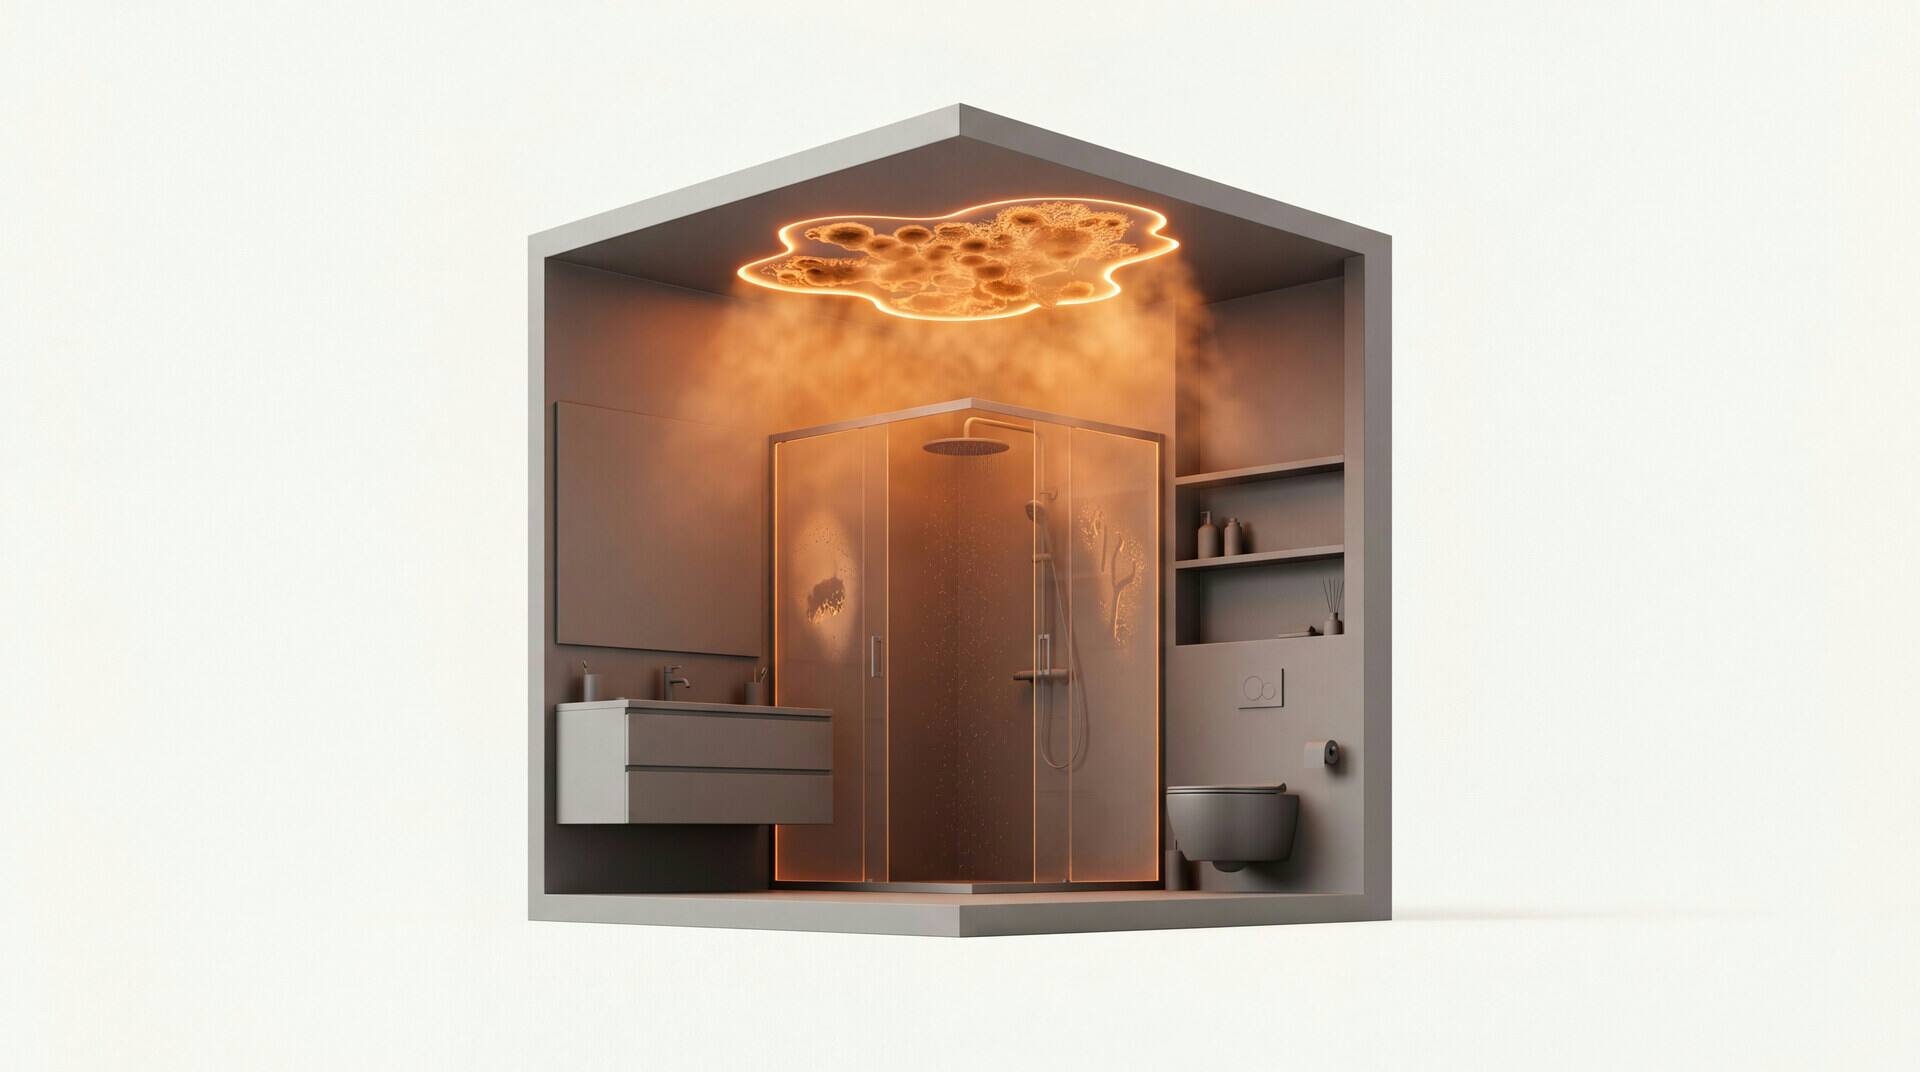

Why grout gets moldy
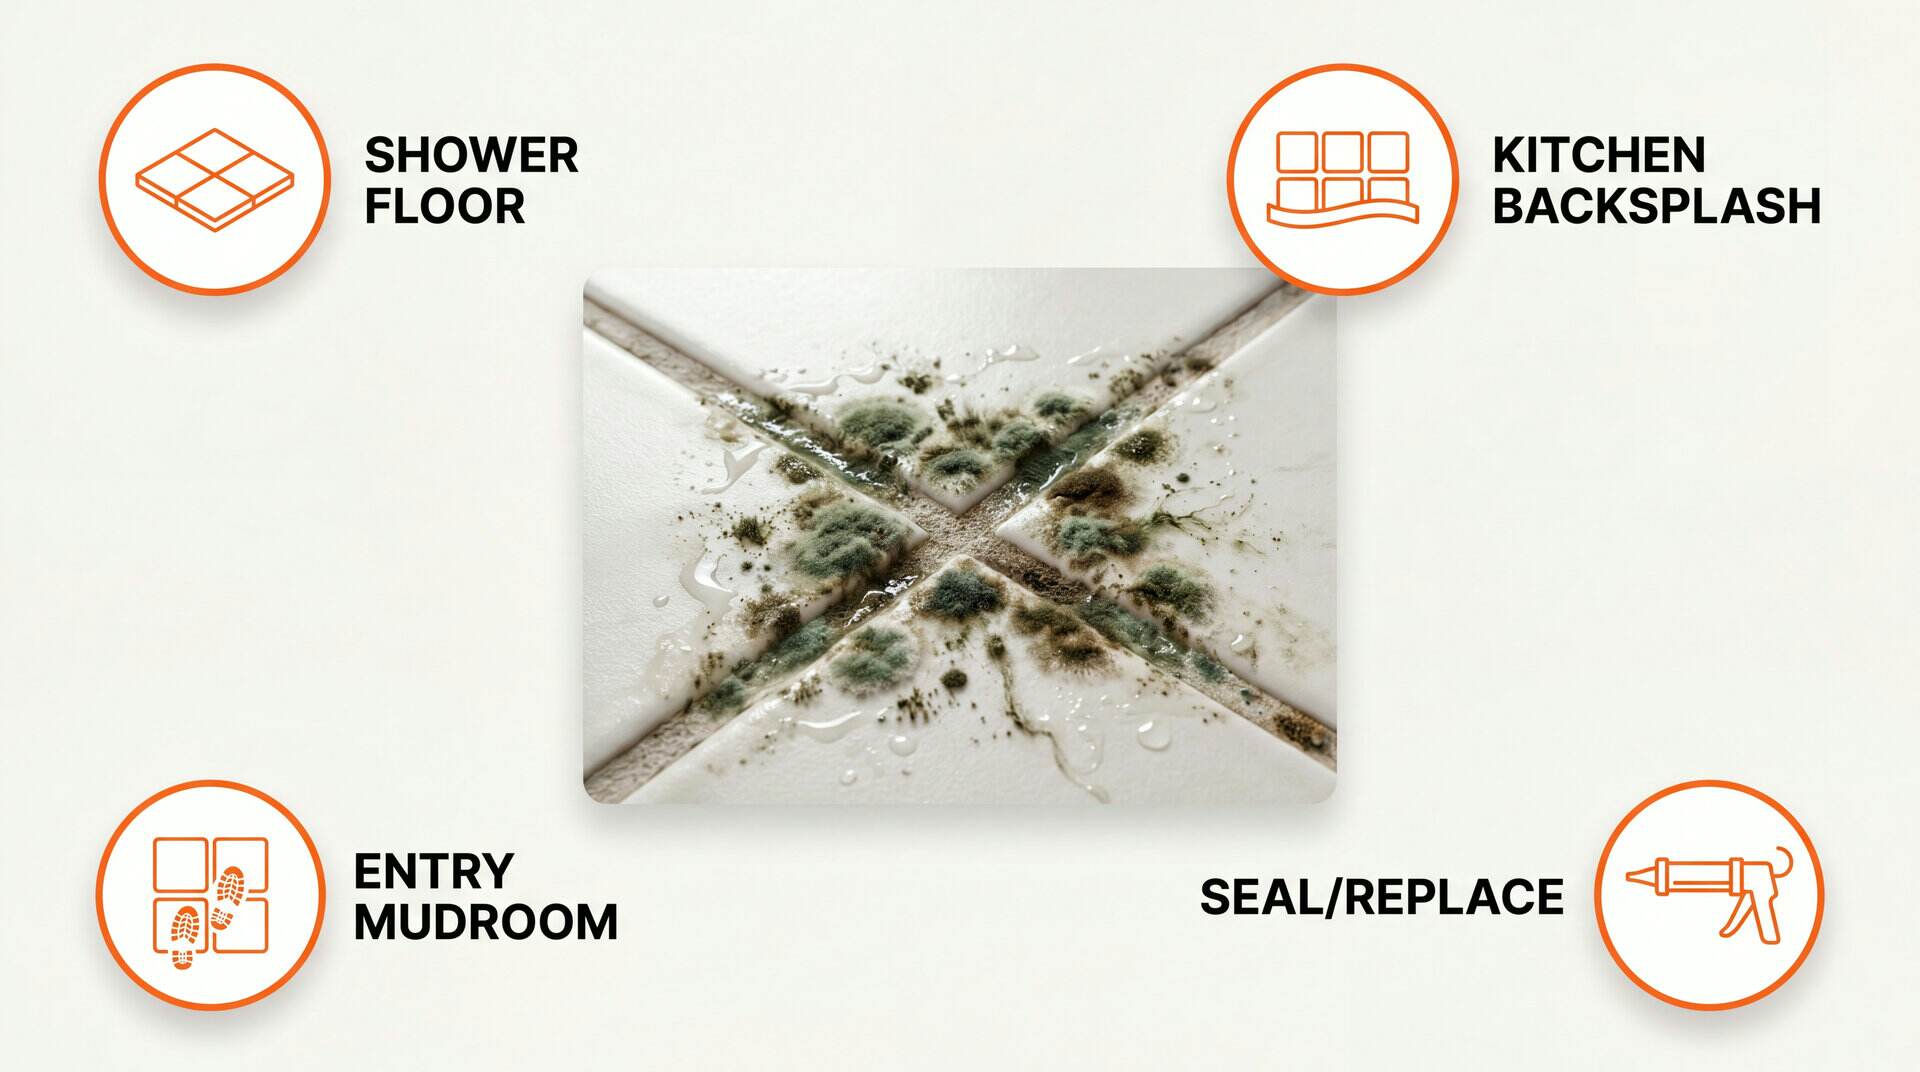
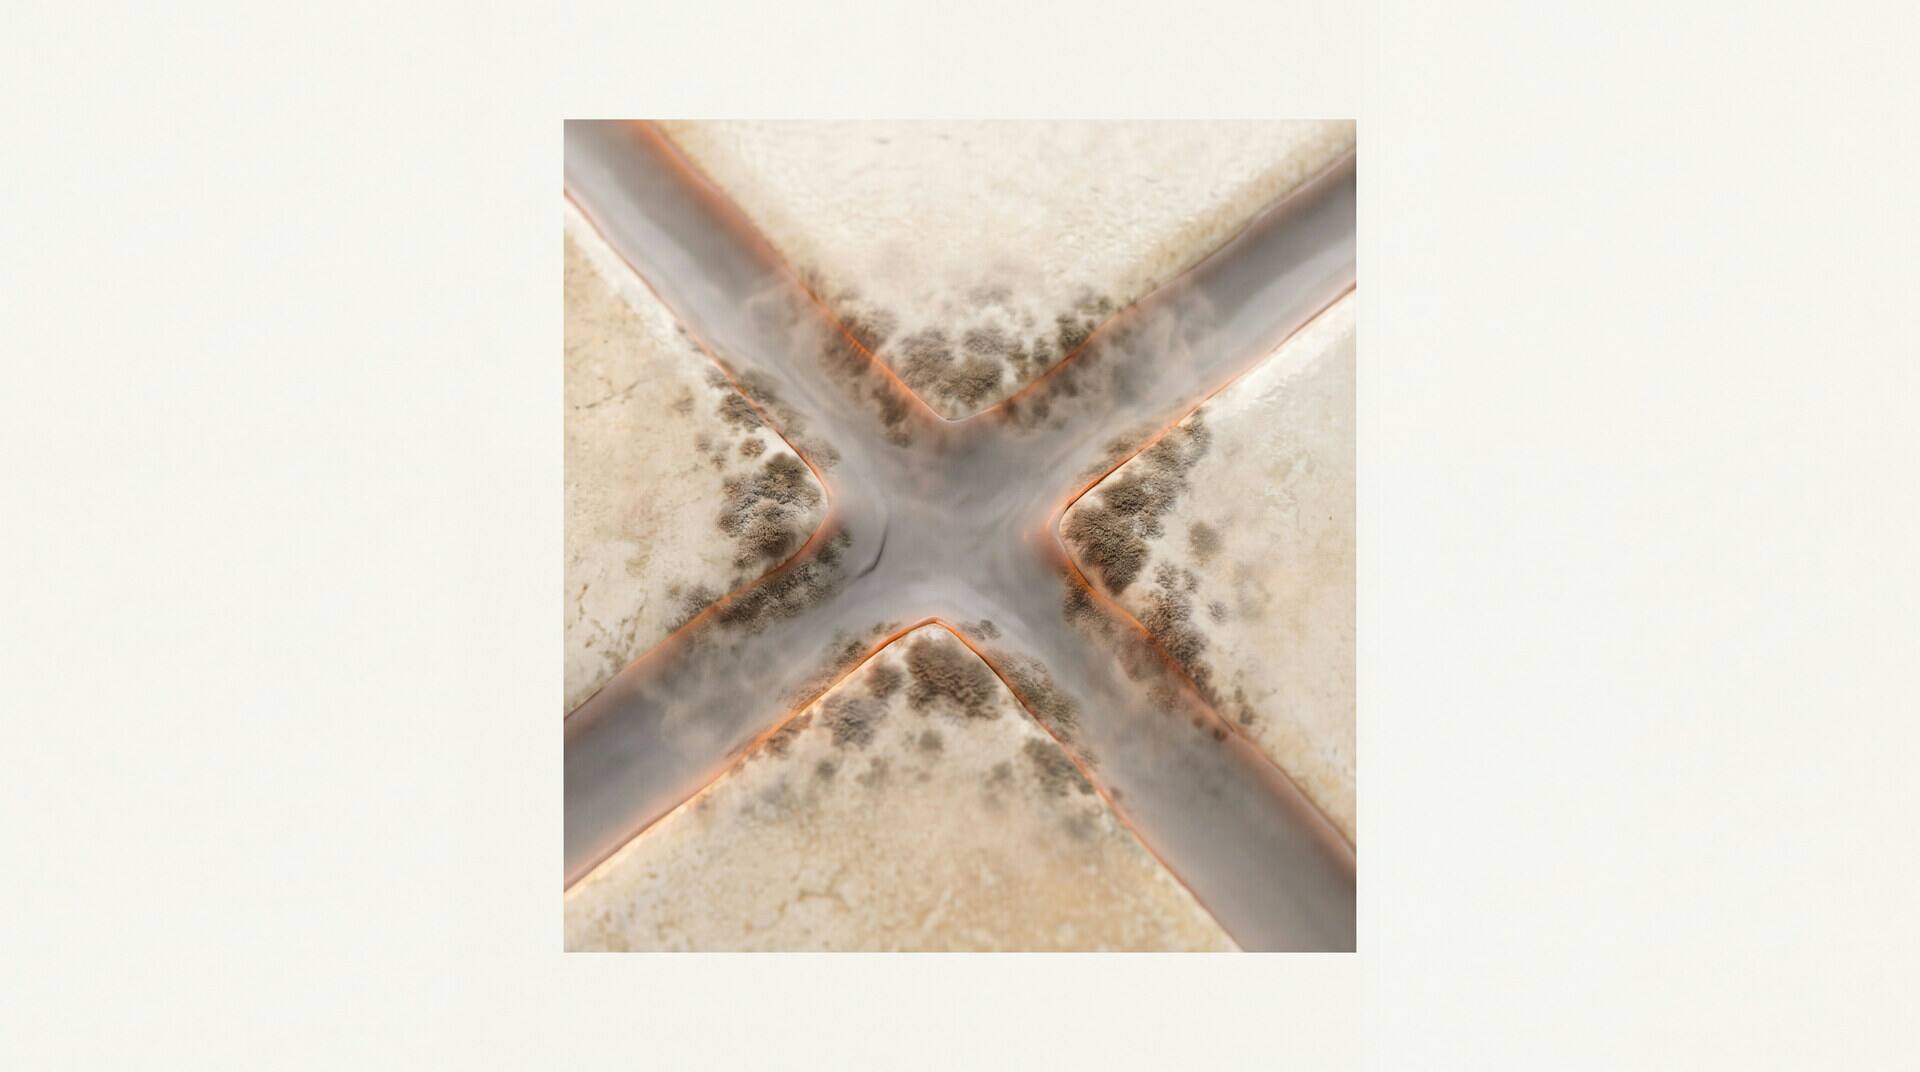
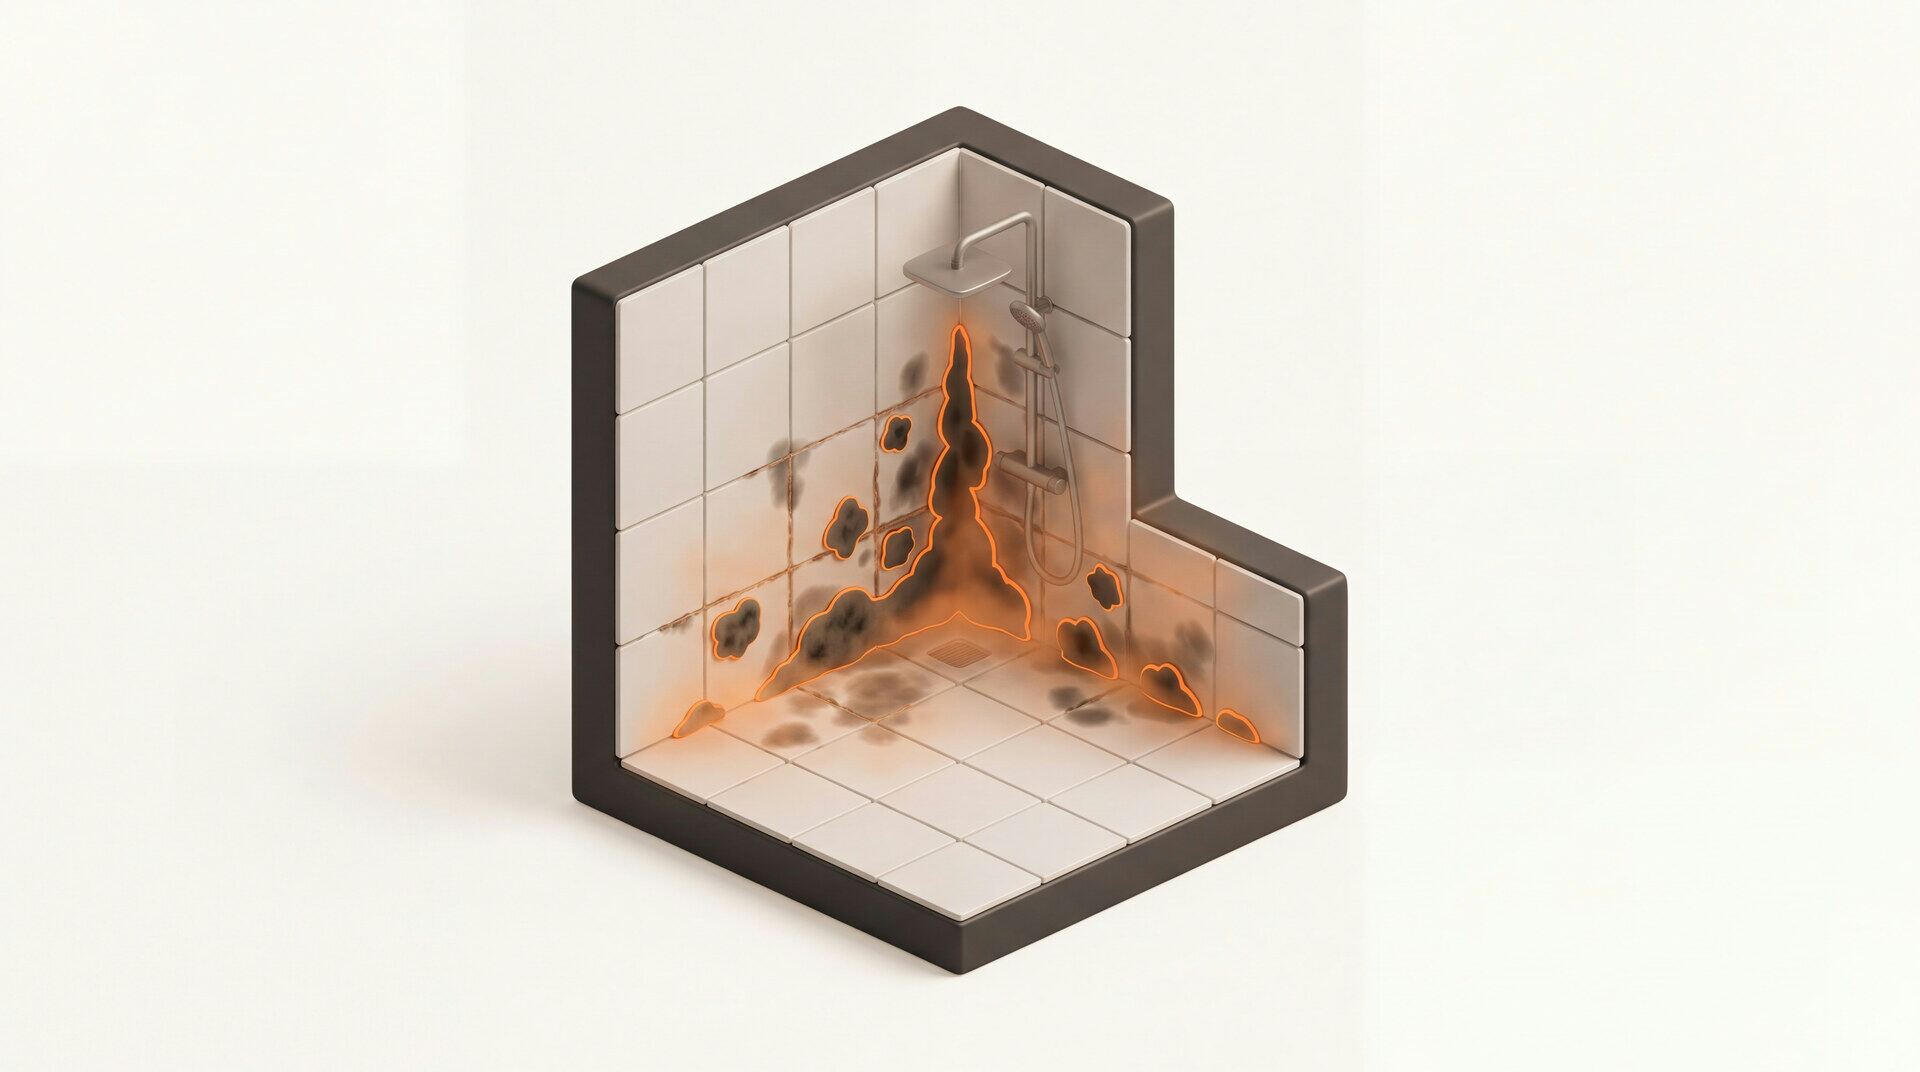
Grout is made of cement, sand, and water. When it cures, it stays porous. Think of it like a hard sponge. Every time water hits the grout in your shower, backsplash, or floor, some of that water soaks in. In a bathroom where the grout gets wet twice a day, it never fully dries out.
Mold spores are everywhere in indoor air. When they land on wet grout that is coated in soap scum, body oils, and mineral deposits, they have food, moisture, and a protected surface. The mold grows into the pores of the grout, which is why surface cleaning often fails. You scrub the visible black spots off, but the roots (called hyphae) are embedded in the grout itself.
Unsealed grout is the worst offender. A grout sealer fills those pores and creates a barrier that blocks water absorption. Without it, your grout is an open invitation for mold.
How to clean mold off grout
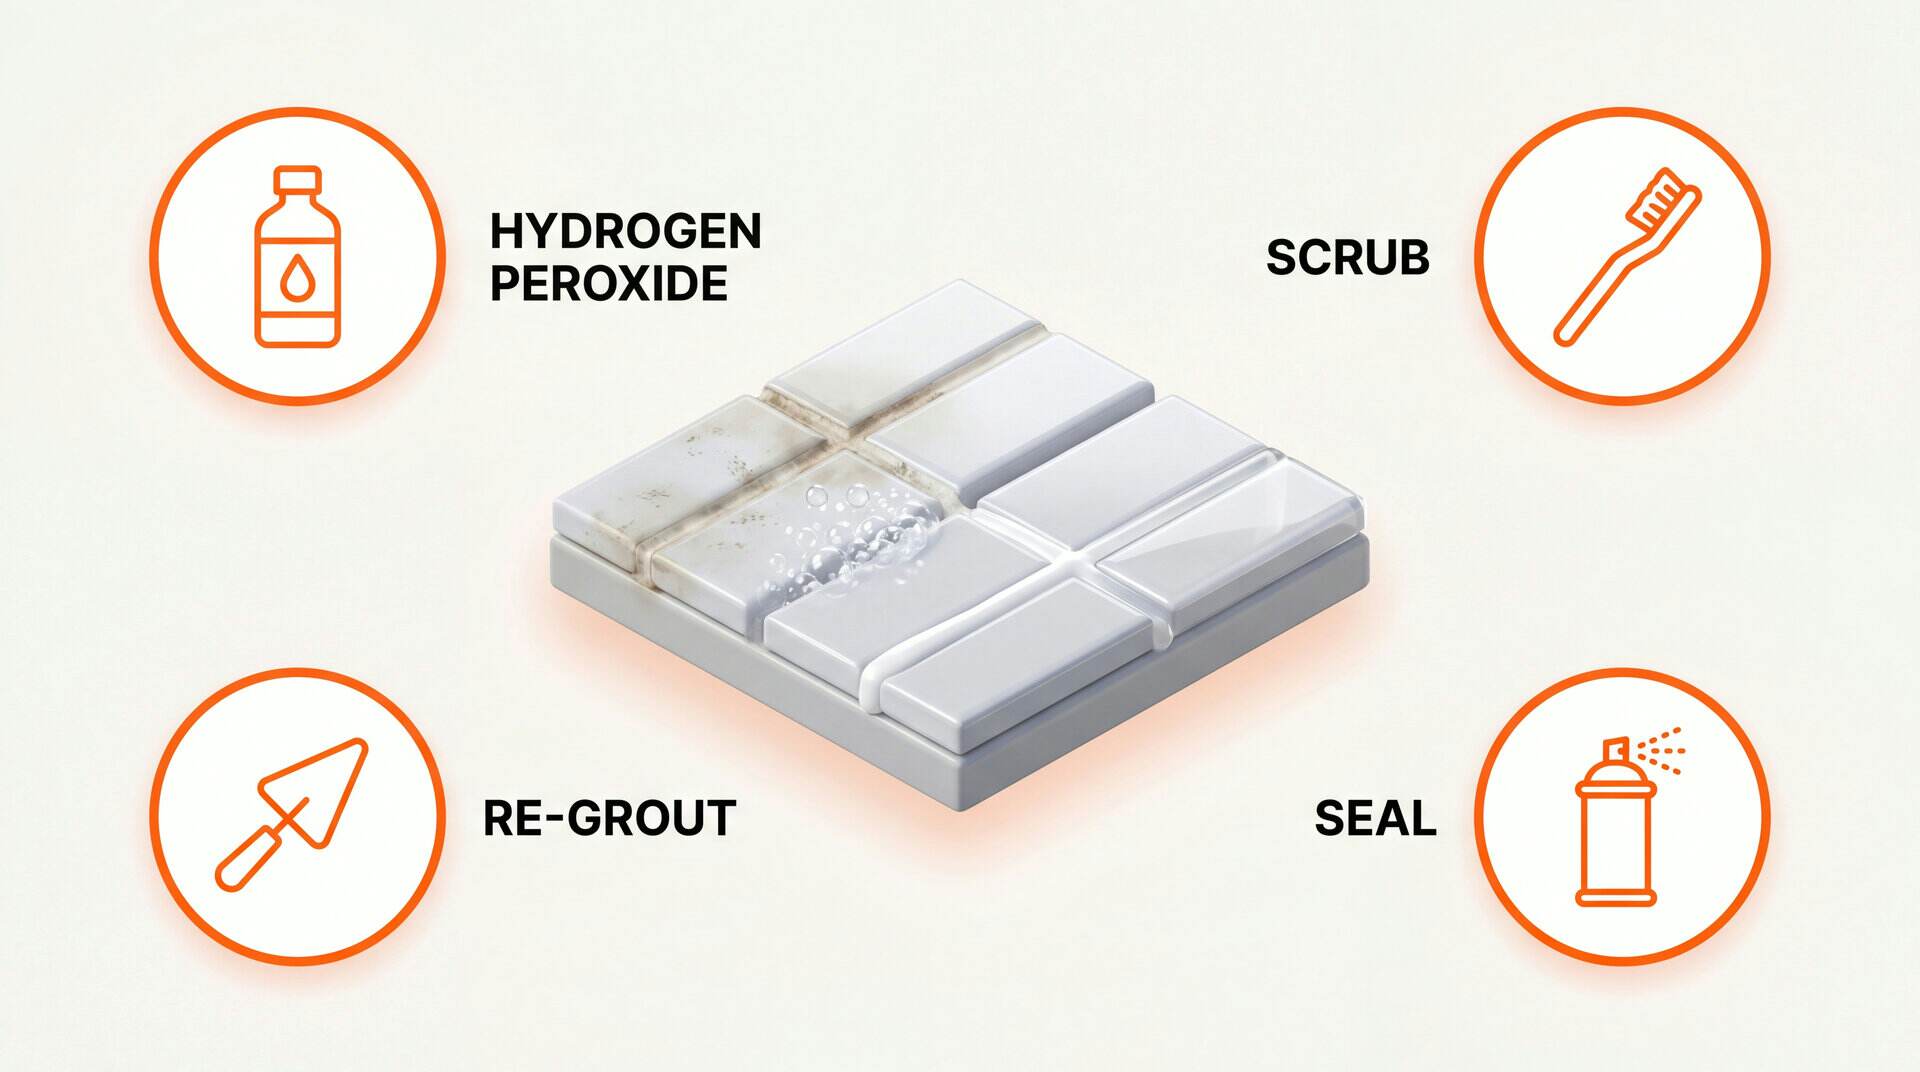
To remove mold from grout, you need hydrogen peroxide, a stiff brush, and time to dry.
Step 1: Spray hydrogen peroxide. Use a spray bottle with 3% hydrogen peroxide (the kind you buy at the drugstore). Spray directly on all moldy grout lines. Let it sit for 10 to 15 minutes. The peroxide bubbles as it kills mold and lifts it from the pores.
Step 2: Scrub with a stiff brush. Use a grout brush or an old toothbrush with stiff bristles. Scrub each grout line with short, firm strokes. The goal is to physically remove mold from the pores, not just wipe the surface.
Step 3: Rinse and repeat if needed. Rinse with clean water. If dark staining remains, make a paste of baking soda and hydrogen peroxide. Apply the paste to the grout, let it sit 20 minutes, then scrub again. This two step approach gets deeper into the pores.
Step 4: Dry completely. Wipe down with a dry towel and run the exhaust fan for at least 30 minutes. The grout must be fully dry before sealing.
Do not use bleach. Every mold expert agrees: bleach does not kill mold on porous surfaces. It removes the color (makes it look clean) but the mold roots survive inside the pores and regrow within days. Hydrogen peroxide is the right choice for grout.
How to seal grout to prevent mold
Sealing grout is the single most important step most people skip. A penetrating grout sealer soaks into the pores and blocks moisture from getting in. Without it, you will be cleaning mold off the same grout lines every month.
Choose a penetrating sealer, not a topical one. Topical sealers sit on the surface and wear off quickly. Penetrating sealers bond inside the grout pores and last 1 to 3 years.
Application: Make sure grout is completely dry (wait 24 hours after cleaning). Apply the sealer with a small brush or applicator bottle directly on the grout lines. Wipe off any excess from the tile surface within a few minutes. Let it cure for 24 hours before getting it wet.
Test annually: Drop a few drops of water on the grout. If the water beads up on the surface, the seal is still good. If it soaks in within 30 seconds, it is time to reseal.
When to regrout instead of cleaning
There comes a point where cleaning and sealing will not fix the problem. You need to remove the old grout and start fresh. Here are the signs:
Grout is cracked or crumbling. Damaged grout lets water flow behind the tile. Mold grows on the wall substrate (cement board, drywall, or plywood) where you cannot see it or reach it. No amount of surface cleaning fixes mold growing behind tiles.
Mold returns within 1 to 2 weeks after cleaning. If you clean the grout, seal it, and mold is back in days, the mold roots are too deep in the grout to kill. The grout itself is compromised and needs replacement.
Grout is permanently discolored. Deep staining that does not respond to hydrogen peroxide or baking soda means the mold has penetrated throughout the full thickness of the grout.
Missing grout sections. Any gap in the grout line is a direct path for water to reach the wall behind. This is especially critical in showers where water hits the wall every day.
How to regrout: Use a grout removal tool (manual or oscillating multi tool) to scrape out old grout to at least 2/3 of the tile depth. Vacuum out dust. Apply new grout, let it cure 24 to 48 hours, then seal it immediately. Consider using epoxy grout in wet areas. Epoxy grout is non porous and resists mold far better than cement grout.
Epoxy grout vs cement grout in a shower
Epoxy grout resists mold better than cement grout because it is non porous, so water has nothing to soak into. Cement grout stays porous after it cures, which is why it needs a penetrating sealer and a yearly water test.
Here is how the two compare in a wet area like a shower:
- Cement grout: Made of cement, sand, and water. It behaves like a hard sponge and absorbs water every time the shower runs. Seal it after it cures, and drop water on it once a year to see if the seal still holds.
- Epoxy grout: Non porous, so it does not absorb water the way cement grout does. It is worth considering in showers and other spots that stay wet.
Switching grout type only works if the old grout comes out first. Mold roots sit inside the pores of the old grout, so new grout laid over it does not remove them. Scrape the old grout out to at least 2/3 of the tile depth, vacuum the dust, then apply the new grout.
Frequently asked questions
Can grout get moldy?
Yes. Grout is made of cement, sand, and water, and it stays porous after it cures. Mold in grout lines shows up where grout gets wet often, such as shower walls, shower floors, and backsplashes. Unsealed grout is the most vulnerable because nothing blocks the moisture.
Does grout sealer prevent mold?
A grout sealer helps because it fills the pores and blocks water from soaking in, but it does not kill mold that is already there. Clean the grout with hydrogen peroxide first, let it dry completely, then apply a penetrating sealer. Retest once a year by dropping water on the grout. If it soaks in within 30 seconds, reseal.
Can you grout over moldy grout?
No. Mold roots sit inside the pores of old grout, so new grout on top does not remove them. Scrape the old grout out to at least 2/3 of the tile depth, vacuum the dust, apply new grout, let it cure 24 to 48 hours, then seal it right away. If the old grout was cracked or missing, water may have reached the wall behind the tile, so look at that before you close it up.
Why does mold grow on grout?
Grout is porous. It absorbs water like a sponge. In bathrooms and kitchens where grout gets wet daily, moisture soaks into the grout and never fully dries. Mold feeds on the minerals and organic residue (soap scum, body oils) trapped in those pores. Unsealed grout is especially vulnerable because it has no protective layer to block moisture.
Does hydrogen peroxide kill mold on grout?
Yes. Spray 3% hydrogen peroxide directly on the moldy grout. Let it sit for 10 to 15 minutes. Scrub with a stiff bristle brush. The peroxide kills mold on contact and penetrates slightly into the porous grout surface. It is safer than bleach, which only whitens the surface without killing mold roots in porous materials.
How often should I seal grout to prevent mold?
Seal grout once a year in bathrooms and kitchens. Use a penetrating grout sealer, not a topical one. Penetrating sealers soak into the grout and block moisture from the inside. Test if your grout needs resealing by dropping water on it. If the water soaks in within 30 seconds instead of beading up, it is time to reseal.
When should I regrout instead of cleaning?
Regrout when the grout is cracked, crumbling, missing in sections, or when mold keeps coming back within weeks of cleaning. Damaged grout lets water behind the tiles, which causes mold on the wall substrate underneath. At that point, cleaning the surface is pointless because the mold is growing behind the tile where you cannot reach it.
Sources
Every claim on this page traces to one of these. Links open the primary document.