Mold on Caulk: Why Cleaning Does Not Work and What to Do Instead

Never try to clean mold off caulk. Caulk is porous. Mold roots grow inside the material where no spray or scrub brush can reach. The only fix is to remove the old caulk completely, treat the surface underneath with hydrogen peroxide, and apply new 100% silicone mildew resistant caulk.
Why mold on caulk cannot be cleaned
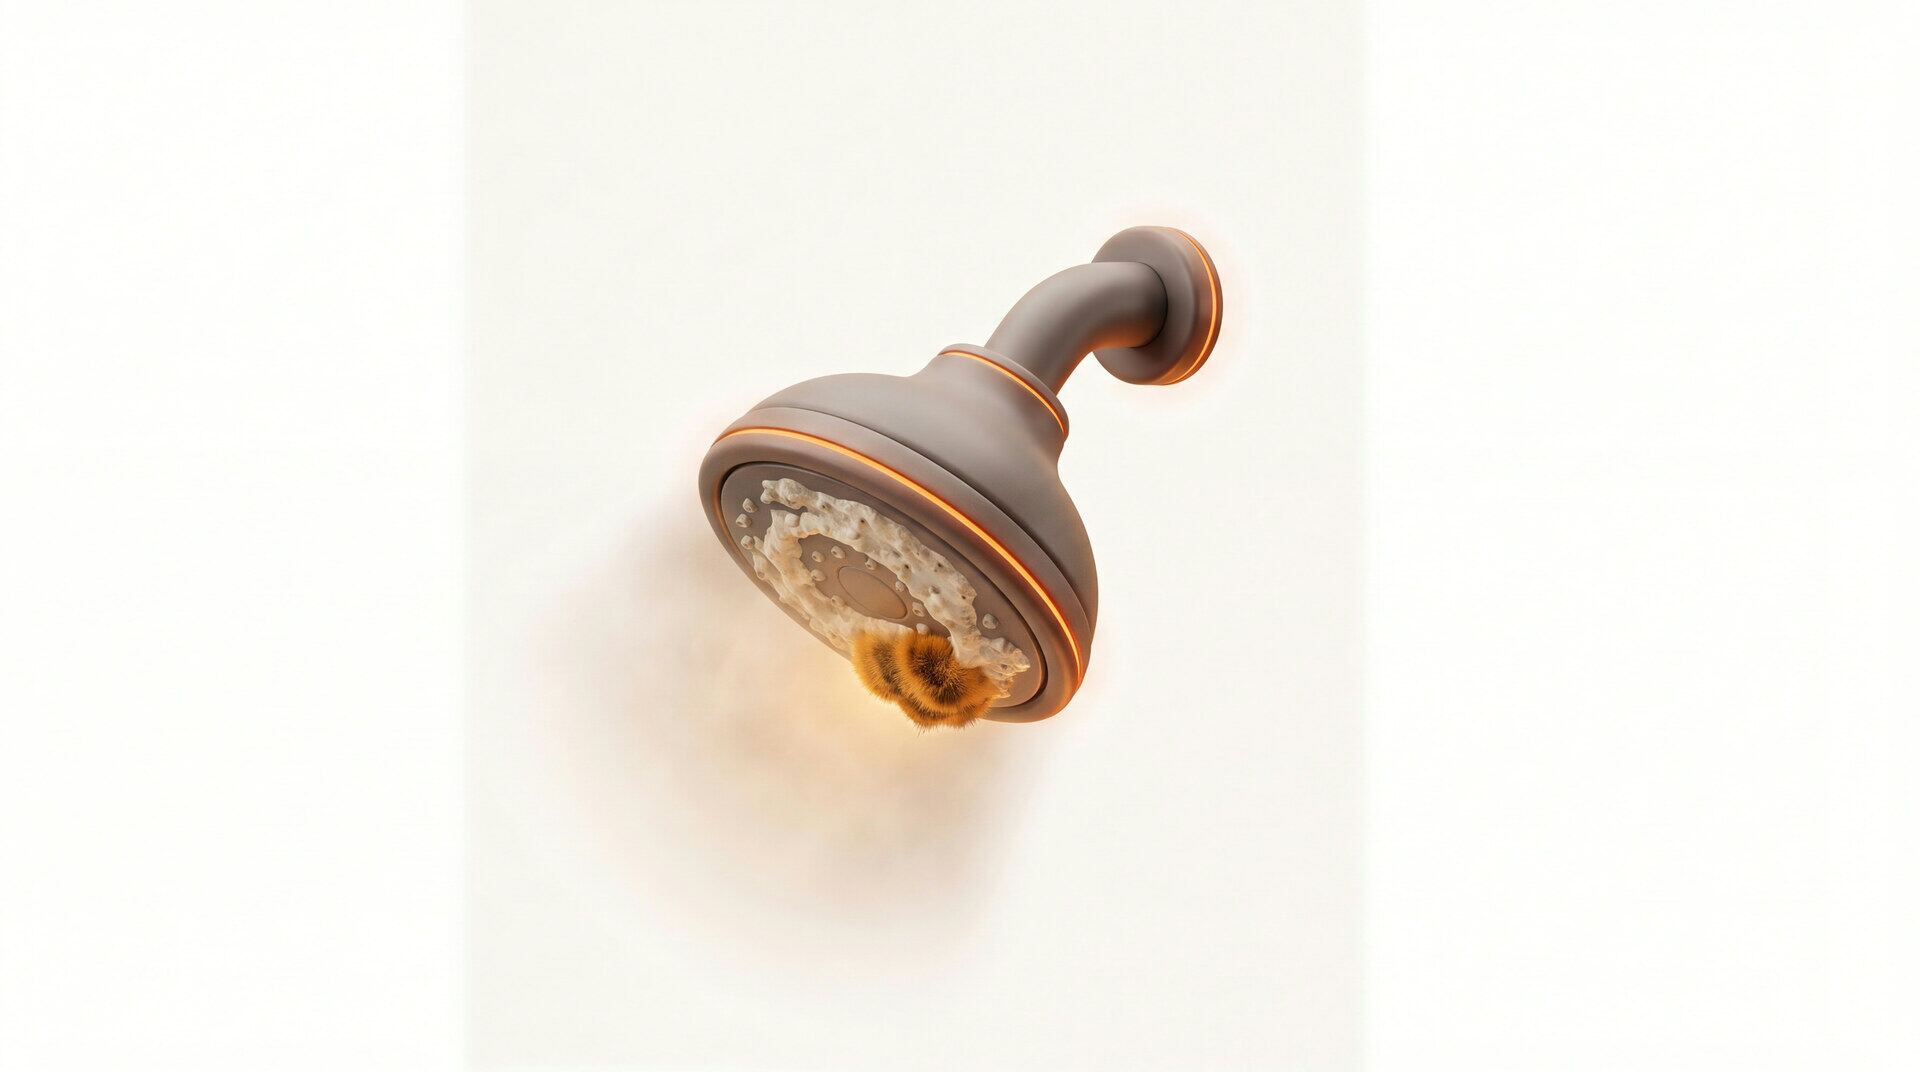
Caulk looks smooth on the surface, but at a microscopic level it is full of tiny pores. When mold lands on wet caulk, it does not just sit on top. The mold sends roots (hyphae) deep into those pores. Within days, the mold is living inside the caulk itself.
When you spray bleach or mold cleaner on caulk, the chemical only touches the surface. It whitens the visible mold, making it look like the problem is solved. But the roots inside the caulk are alive and growing. The mold returns within days or weeks because you only killed what was on top.
This is why every mold remediation professional gives the same advice for moldy caulk: remove it and replace it. There is no cleaning solution that penetrates deep enough into caulk to kill the embedded mold. Trying to clean it is wasting time and money on a problem that has only one real fix.
How to remove and replace moldy caulk
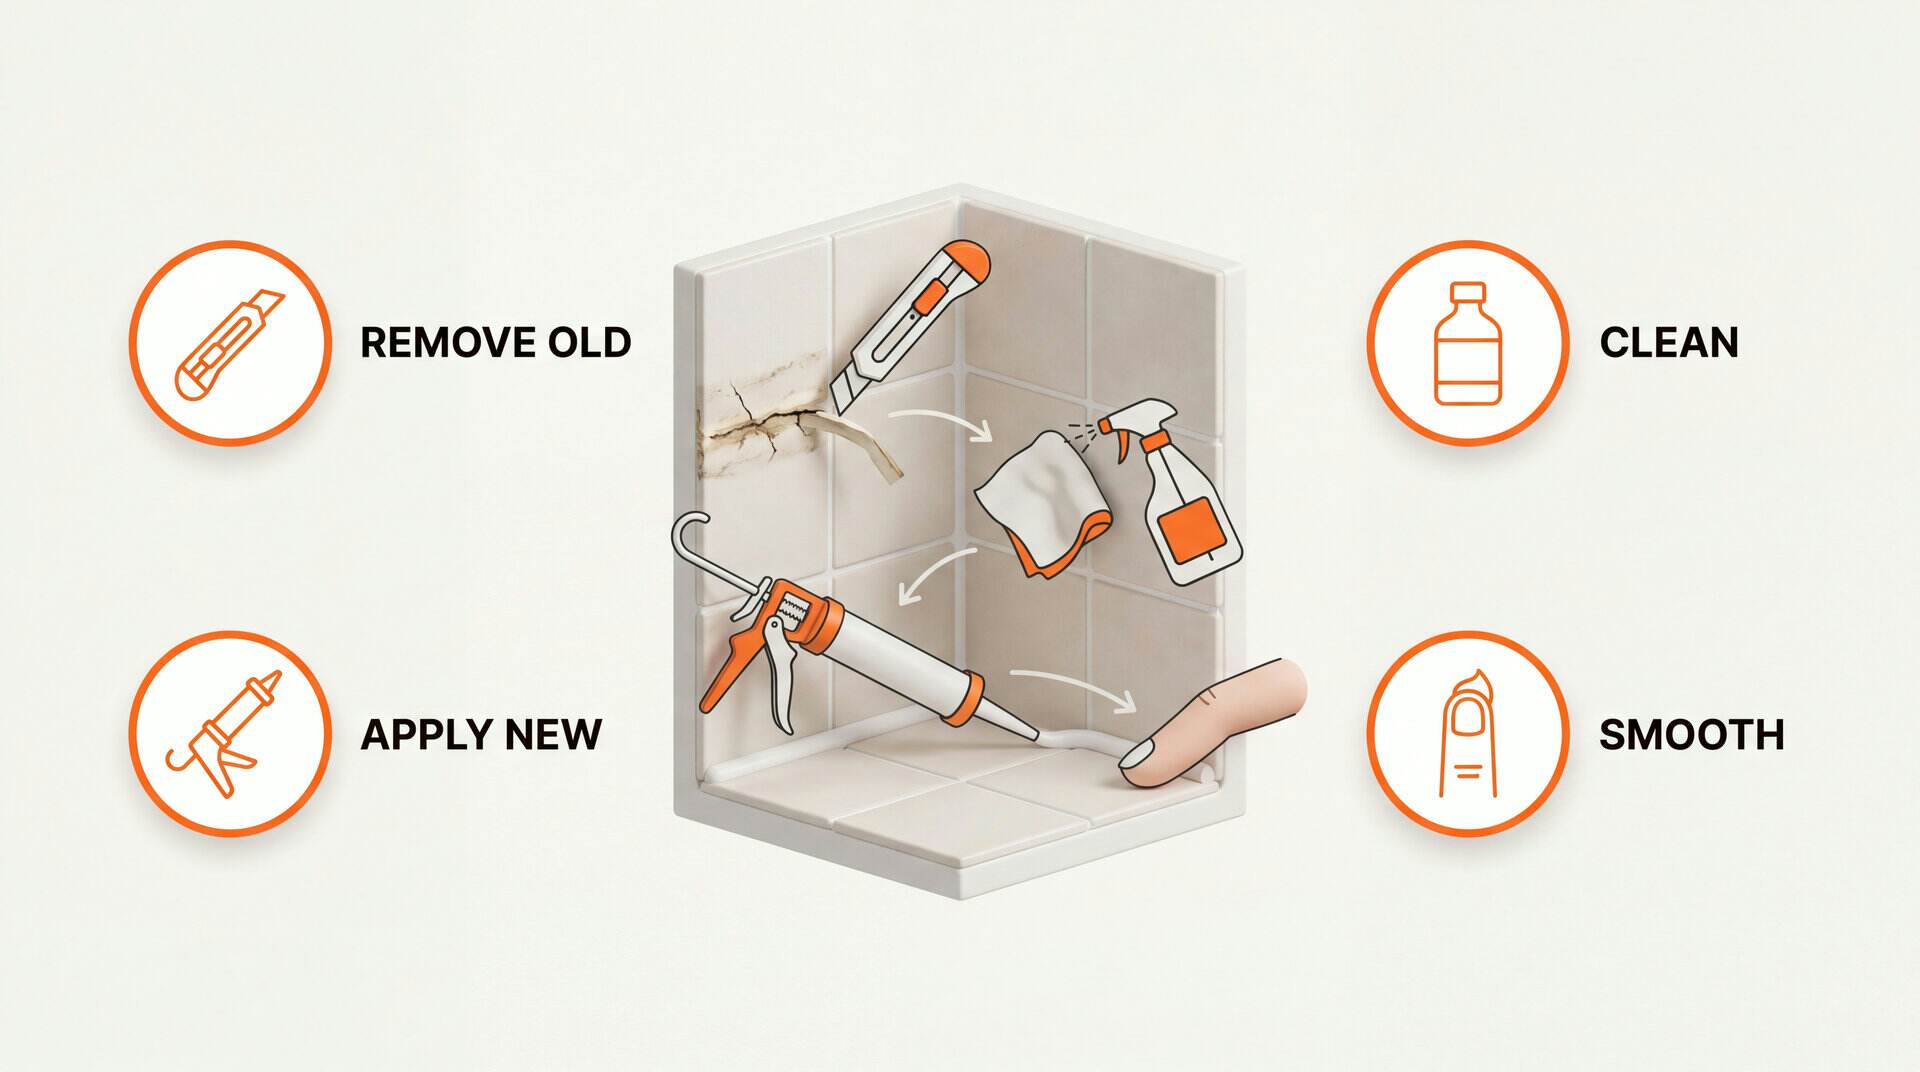
Step 1: Score both edges. Use a sharp utility knife to cut along both sides of the caulk bead where it meets the tile or tub. Make a clean cut on each side. This breaks the bond and makes removal easier.
Step 2: Pull out the old caulk. Grab the end of the caulk strip and pull it out. It should come out in long strips. Use a plastic caulk removal tool or razor scraper to get any residue off the surface. Do not use metal tools on acrylic tubs as they will scratch.
Step 3: Kill mold on the surface underneath. Once the old caulk is out, you will often see mold on the tile, tub, or wall surface that was hidden under the caulk. Spray hydrogen peroxide (3%) on the exposed surface. Let it sit 15 minutes. Scrub with a stiff brush. Wipe clean.
Step 4: Dry completely. This is critical. New caulk will not bond to a wet surface. Let the area dry for 24 hours with the exhaust fan running or a fan blowing on it. If you apply caulk over a damp surface, the caulk will peel off within weeks and mold will grow underneath again.
Step 5: Apply new caulk. Use 100% silicone caulk labeled mildew resistant. Cut the tip at a 45 degree angle. Apply a smooth, continuous bead along the joint. Wet your finger with soapy water and run it along the bead to smooth it. The bead should be about 3/16 inch wide. Let it cure 24 hours before getting it wet.
Step 6: Maintain. After every shower, wipe down the caulk lines with a squeegee or towel. Run the exhaust fan for 30 minutes after bathing. These two habits triple the life of your caulk.
Choosing the right caulk for wet areas
100% silicone: The best choice for showers, tubs, and sinks. Waterproof, flexible, and available with mildew resistant additives. It does not shrink over time. The downside is it cannot be painted and it is harder to tool smoothly. But for wet areas, nothing else comes close.
Silicone latex (siliconized acrylic): Easier to apply and paintable, but it absorbs water over time. Acceptable for kitchen backsplashes and countertop edges that do not get directly sprayed. Not recommended for showers or tub surrounds.
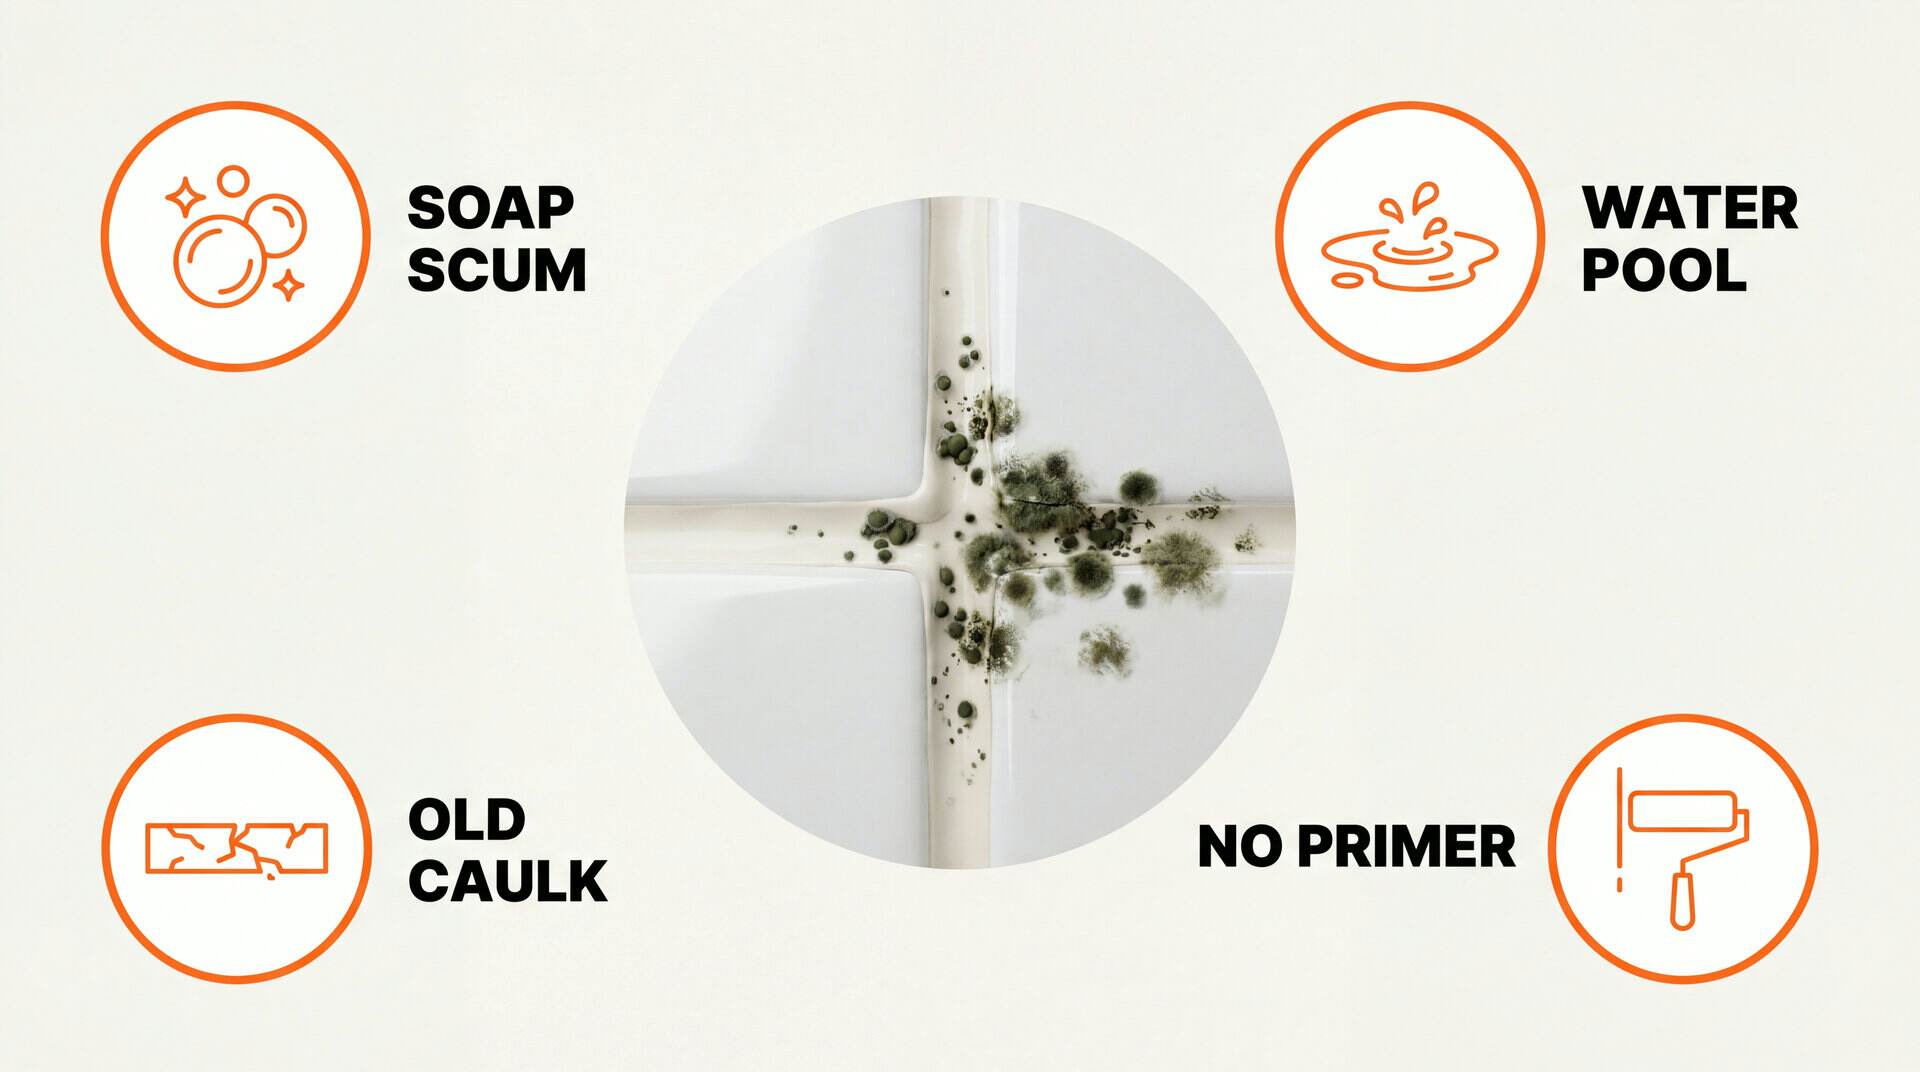
Avoid pure acrylic or latex caulk in wet areas. These absorb water, shrink, crack, and grow mold faster than silicone. They are fine for trim and baseboards in dry rooms, but never for bathrooms.
Look for "mildew resistant" on the label. These formulas contain biocides (typically Microban or similar) that inhibit mold growth on the surface. They do not last forever, but they buy you extra months or years before mold takes hold.
Where to check for moldy caulk in your home
Shower and tub: The joint where the tub meets the tile wall is the most common spot. Also check corners where two tiled walls meet, around the shower door frame, and the base of a glass shower enclosure.
Kitchen sink: The caulk joint between the sink and the countertop. Water splashes and pools here every day. Lift the edge of any caulk that is pulling away and look for black growth underneath.
Bathroom sink: Same as kitchen. Check the back edge where the faucet is mounted. Water accumulates there and people rarely clean it.
Toilet base: The caulk ring around the base of the toilet. If it is discolored or pulling away, remove it, clean, and recaulk. A gap here lets water from mopping or leaks seep under the toilet and feed mold.
Windows: Interior window caulk gets condensation in cold weather. If you see black spots along the caulk lines at the base of your windows, that is mold from condensation. Same fix: remove, clean, replace.
Mold in more than just the caulk?
Our app walks you through 160 professional mold hotspots room by room. Same checklist professional mold inspectors use. AI powered verdict in 30 seconds.
Get Early AccessFrequently Asked Questions
Can you clean mold off caulk?
No. Caulk is porous. Once mold grows into it, no cleaner can reach the roots embedded inside the material. Bleach and sprays only whiten the surface temporarily. The mold returns within days because the roots are still alive inside the caulk. The only real fix is to remove the old caulk completely and replace it with new mildew resistant caulk.
How do I remove moldy caulk from a shower?
Score along both edges of the caulk bead with a utility knife. Pull the old caulk out in strips. Use a caulk removal tool or plastic scraper to get the remaining residue. Clean the surface with hydrogen peroxide to kill any mold left on the tile or tub. Let it dry completely for 24 hours before applying new caulk.
What type of caulk resists mold best?
Use 100% silicone caulk labeled mildew resistant for all wet areas. Silicone caulk is waterproof and flexible. It contains biocides that slow mold growth. Avoid latex or acrylic caulk in showers and tubs because they absorb water over time. DAP Kwik Seal Ultra and GE Supreme Silicone are two widely available options with built in mildew protection.
How often should I replace bathroom caulk?
Replace bathroom caulk every 3 to 5 years, even if it looks fine. Caulk degrades over time from water exposure, cleaning chemicals, and temperature changes. If you see any discoloration, peeling, cracking, or gaps, replace it immediately. A gap in the caulk line lets water behind the tub or shower surround where it causes hidden mold and structural damage.